Logo and Artwork File Requirements for Custom Fishing Apparel.
What the factory needs to turn your logo into a production-ready file — the formats we accept, the resolution and color your art needs, what embroidery digitizing requires, and where each mark sits — so your artwork prints and stitches clean at any size. Representative pre-press specs; confirmed on your art proof.
How to use this custom apparel artwork setup guide.
You don't have to be a designer to send us usable art — you just have to know what "usable" means. Read this first: here's the ideal a file should meet, what we can fix if it doesn't, and where to go if you need the decoration, the branding or a design from scratch.
This page is about the files, not the decoration.
It covers how to prepare your logo so it can be printed, sublimated or embroidered — the format, resolution, color and layout the file needs. How those methods actually run on the line lives under in-house decoration; this page stays on the file.
You don't need finished, print-ready files to start.
The specs below are the ideal. If all you have is a rough logo, a business-card image or a screenshot, send it anyway — our art team cleans it up (see how to send & proof). This guide tells you what makes a file easy to run and what our team fixes when it isn't.
Want a design from scratch, or branding and packaging?
If you want us to design a whole look with you, that's the custom gear program — this page is for a logo you already have. For woven labels, hangtags and barcoded packaging, see private label fishing apparel. Here we handle the decoration artwork only.
Vector vs raster: why a logo should be a vector file.
One thing decides whether a logo prints and stitches clean at any size: whether it's vector or raster. This is the difference, in plain terms — and why it's the first thing we check when your art lands. (This is the file convention; the decoration methods are on the decoration page.)
A path that scales sharp.
Formats: AI · EPS · vector PDF · SVG
A vector file describes your logo as paths — anchor points and curves — so it scales from a cap front to a full-back print with edges that stay razor-sharp. Logos, type and line art should always be vector.
A grid that breaks up scaled.
Formats: PNG · JPG · PSD · TIFF
A raster image is a set grid of colored dots at a fixed resolution — great for photographs and gradients, but blurry or jagged the moment it's scaled past its native size.
Why it matters on a garment.
Blow a small web PNG up to a 12-inch back print and the edges pixelate; the same logo as vector prints crisp at any size — and it digitizes clean for embroidery, because a vector path re-plots straight into stitch paths. A raster logo has to be redrawn first.
The rule of thumb.
Line art, logos and text → send vector. Photographic or painted art (a full-color scene, a gradient render) → send high-resolution raster. Not sure which you have? Send it and we'll tell you — a redraw is part of what our art team does.
Accepted artwork file formats, best to backup.
The formats the factory can run, ranked from ideal to acceptable — with what each is best for and how to hand it over. Send the highest one you have; if it's near the bottom, our art team takes it from there.
| Format | Type | Best for | How to send it |
|---|---|---|---|
| .AI | Vector | Logos, line art, type | Preferred — outline all fonts |
| .EPS | Vector | Logos, universal exchange | Preferred — outline fonts |
| Vector | Logos, layouts | Must be vector-based, not a scanned/flattened page | |
| .SVG | Vector | Simple logos, web-origin marks | Good for clean, flat marks |
| .PSD | Raster | Complex / photographic art | Keep layers, 300 DPI at print size |
| .TIFF | Raster | Photographic art | Uncompressed, 300 DPI |
| .PNG | Raster | Backup when no vector exists | Transparent background, 300 DPI at print size |
| .JPG | Raster | Photos only | No transparency — avoid for logos |
Outline your fonts or send the font file. Live text reflows to a default typeface on a machine that doesn't have your font; outlined (converted-to-curves) type prints exactly as drawn.
Send art at or above final print size. A file built at the size it'll print (or larger) leaves detail to work with; one built tiny can't be scaled up cleanly (see resolution).
Raster resolution: the DPI a printable file needs.
When your art has to be raster — a photo, a gradient, or a logo you can only supply as a PNG — resolution decides whether it prints crisp or fuzzy. Here's what a printable raster file needs, and why a web image usually isn't enough.
300 DPI at the actual print size — not screen resolution.
Web and screen images are typically 72 DPI, roughly a quarter of the density print needs. A file that looks sharp on a monitor can still print soft; the number that matters is DPI at the size it prints, not on screen.
No upscaling.
Enlarging a small image in software adds pixels but not detail — it just spreads the blur. Always send the largest original you have, not a stretched copy.
Transparent background.
Supply logos as transparent PNG or layered PSD, so the mark isn't locked inside a white box that then prints as a rectangle around your logo.
Build print raster in CMYK, not RGB.
Screens are RGB; presses are CMYK. Art left in RGB gets converted and can shift in color — for reliable color, set the file to CMYK or give a color spec.
the everyday placement ~1,200px wide
the big statement mark ~3,600px wide
If your image is smaller than that at 300 DPI, it's below spec for that placement — send the largest original, and our art team flags anything short before it runs.
Color: how to spec Pantone, CMYK and thread colors.
The surest way to get the color you expect is to name it, not leave us to read it off a screen. Here are the three color systems to use — one per decoration type — and how to hand the numbers over. (We match to the target you give; the color-control tolerance is detailed under custom decoration.)
Pantone (PMS)
Give a Pantone solid-coated number per color and we match ink, dye or thread to it. A named PMS is a physical target both sides can check, so what you specify runs across the whole order — the color-control mechanism is on the decoration page.
CMYK
Full-color, gradient or photo-real art prints in four-color process — build and supply those files in CMYK so the color on the file is the color on press, instead of an RGB file that shifts on conversion.
Thread colors
Embroidery doesn't mix ink — it picks a physical thread. Give a thread-standard number (a Madeira or Isacord color), or a Pantone we'll cross-reference to the closest thread, so the stitched color is chosen, not guessed.
Label the colors on the file. Include a small color legend — "this element = PMS 302 C, this = white thread" — rather than leaving the target to interpretation, so the first piece and the three-thousandth read the same.
Preparing artwork for embroidery: what digitizing needs.
Embroidery doesn't stitch your image directly — the logo is re-plotted as a stitch file first. That step, digitizing, has limits your artwork has to respect. Here's what makes a logo embroiderable, and what won't hold in thread. (This is the file side; the embroidery station itself is on the home page.)
Digitizing = converting your logo into a stitch file.
.DST / .EMBYour artwork is re-plotted as stitch paths in a machine file that drives the needle — the art itself isn't stitched. A clean vector logo digitizes fastest; a rough raster is redrawn first.
Minimum line and stroke width.
~1 mm (0.04")Lines thinner than roughly a millimeter drop out or pucker in thread — thin outlines, hairlines and fine detail need thickening before they'll embroider.
Minimum legible text height.
~5 mm (0.2")Below about five millimeters, letters fill in and lose their counters. Very small taglines, URLs and fine print don't stitch — keep embroidered text at or above this, or run it as a print instead.
Stitch count and density.
up to ~12,000 stitchesA left-chest logo runs roughly up to ~12,000 stitches in a ~4-inch field; dense fills stiffen the panel, so on stretch performance fabric we tune density so the mark moves with the cloth (the field and capacity figures are on the home decoration section).
Gradients and fine shading don't embroider.
Thread is solid — a gradient becomes banded thread blocks. Simplify shaded art to solid color blocks for embroidery, or choose print/sublimation for that logo. We flag what won't hold before digitizing, not after.
Decoration placement and print sizes, position by position.
Where a mark sits and how big it runs are part of the spec, not an afterthought. Here are the standard placements and sizes for each position, so you can tell us exactly where your artwork goes — or use these as the default. (Representative adult sizes; confirmed on your art proof.)
| Position | Typical size | Placement |
|---|---|---|
| Left chest | ~3.5–4" (9–10 cm) wide | Centered ~7–8" down from the shoulder seam |
| Full back | ~11–12" (28–30 cm) wide | Upper-to-mid back; print more common than embroidery here |
| Sleeve | ~2–3" (5–7.5 cm) wide | Along the upper or forearm sleeve |
| Cap front | ~2.25" tall × 4–5" wide field | Centered on the front panel |
| Neck gaiter | Wrap-around print area | Repeats or single-placement around the tube |
Left chest is the workhorse placement — small, so it favors a simple, legible mark; fine detail at this size reads better in print than in thread (see digitizing).
Give placement with your file — position and size per garment, or tell us the position and we apply the standard above.
How to name, send and proof your artwork files.
The last step is getting the files to us cleanly and confirming what runs. Here's how to name and send them, what our art team does with a rough logo, and how you sign off before anything hits production.
Name files so we know what they are.
A clear name saves a round of email — brand_logo_vector.ai, brand_logo_leftchest_300dpi.png. Note the color spec and intended placement in the file name or a one-line spec sheet with the files.
Send a link or a packaged folder.
A shared link (WeTransfer, Drive, Dropbox) or email attachment both work; zip layered and multi-file art into one folder so nothing arrives loose or missing a layer.
Our art team cleans up a rough logo.
Only have a low-res or messy file? The in-house art team vectorizes a raster logo, outlines fonts, separates colors and sets the print or stitch file — a redraw when needed — so a rough mark becomes production-ready without you hiring a designer.
You approve a production art proof before anything runs.
You get a production art proof — a print layout or a digitized stitch proof — showing the size, placement and color for each position. Nothing goes to decoration until you sign it off: what you approve is what runs. Confirm it on a physical sample if you want it in hand first.
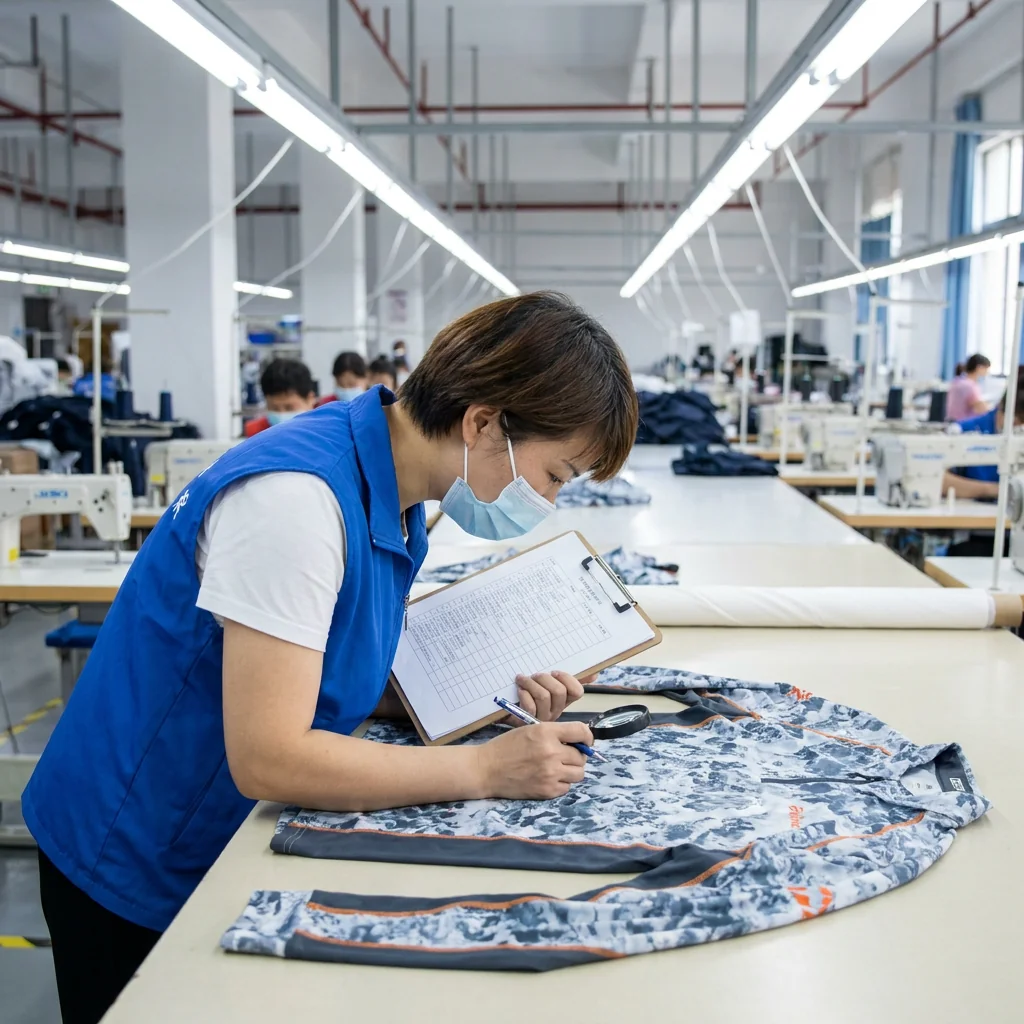
Note: this is a proof of your supplied logo, prepped for production. If you don't have artwork yet, or want a whole coordinated look designed from scratch, that's the custom gear program, not this page.
Send your logo for an artwork review.
Send your logo, the products you want it on, and the placement — we'll check the files, flag anything that needs cleanup, and reply within 24 hours, in plain English.
- We tell you if your file works before you order
- Rough logos cleaned up and vectorized in-house
- You approve a proof before anything runs
- Response within 24 hours (GMT+8)
Prefer email? [email protected]