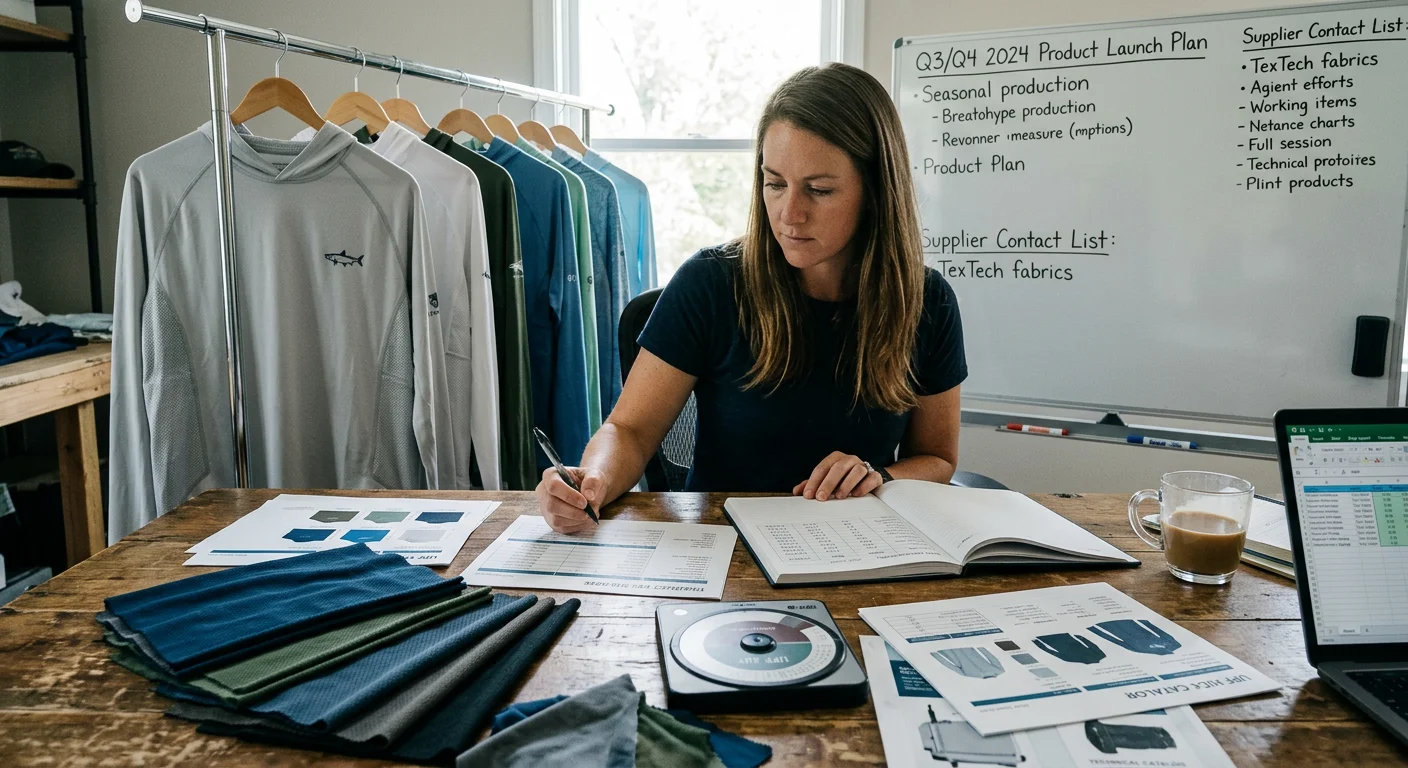
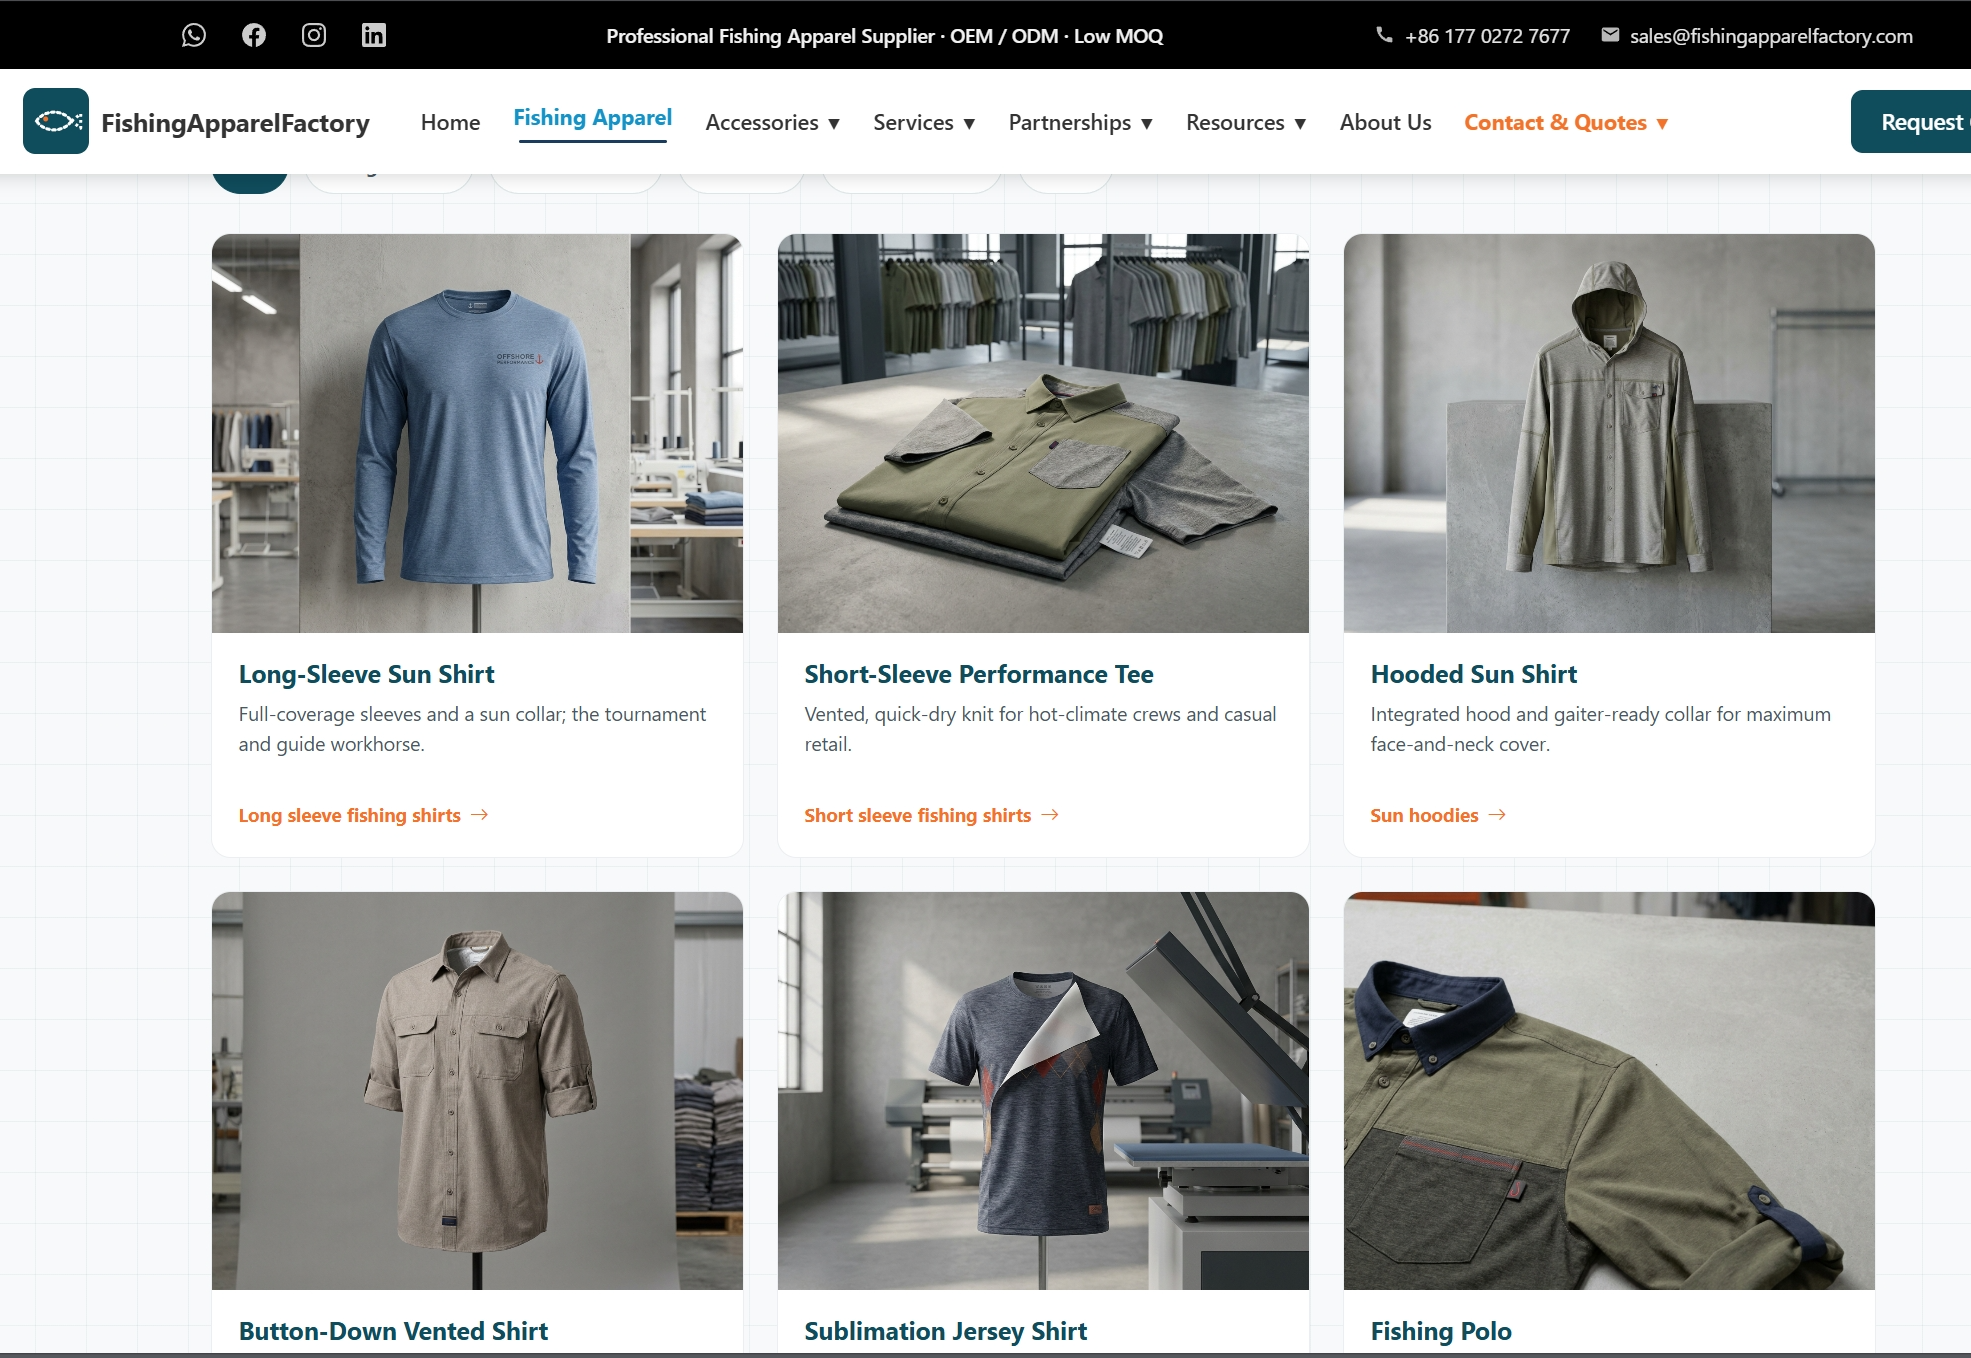
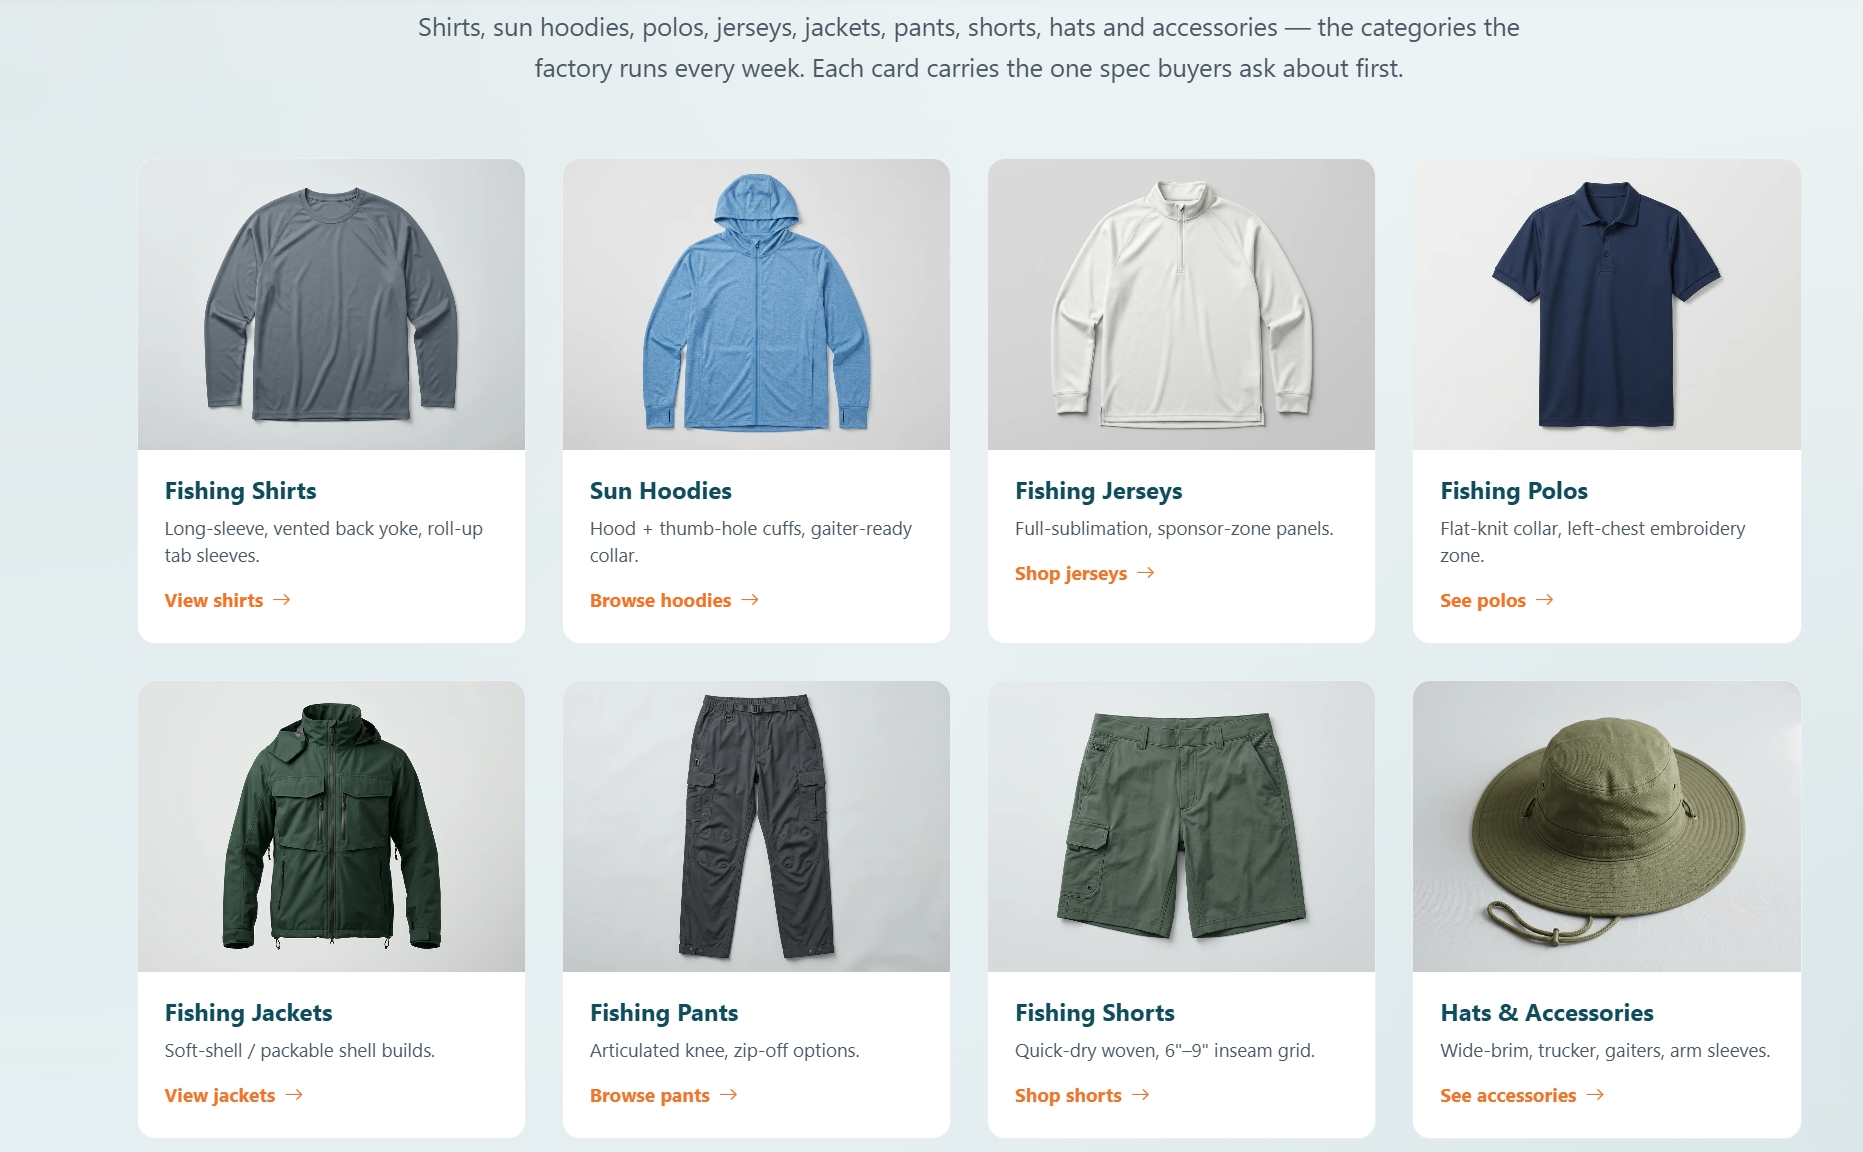
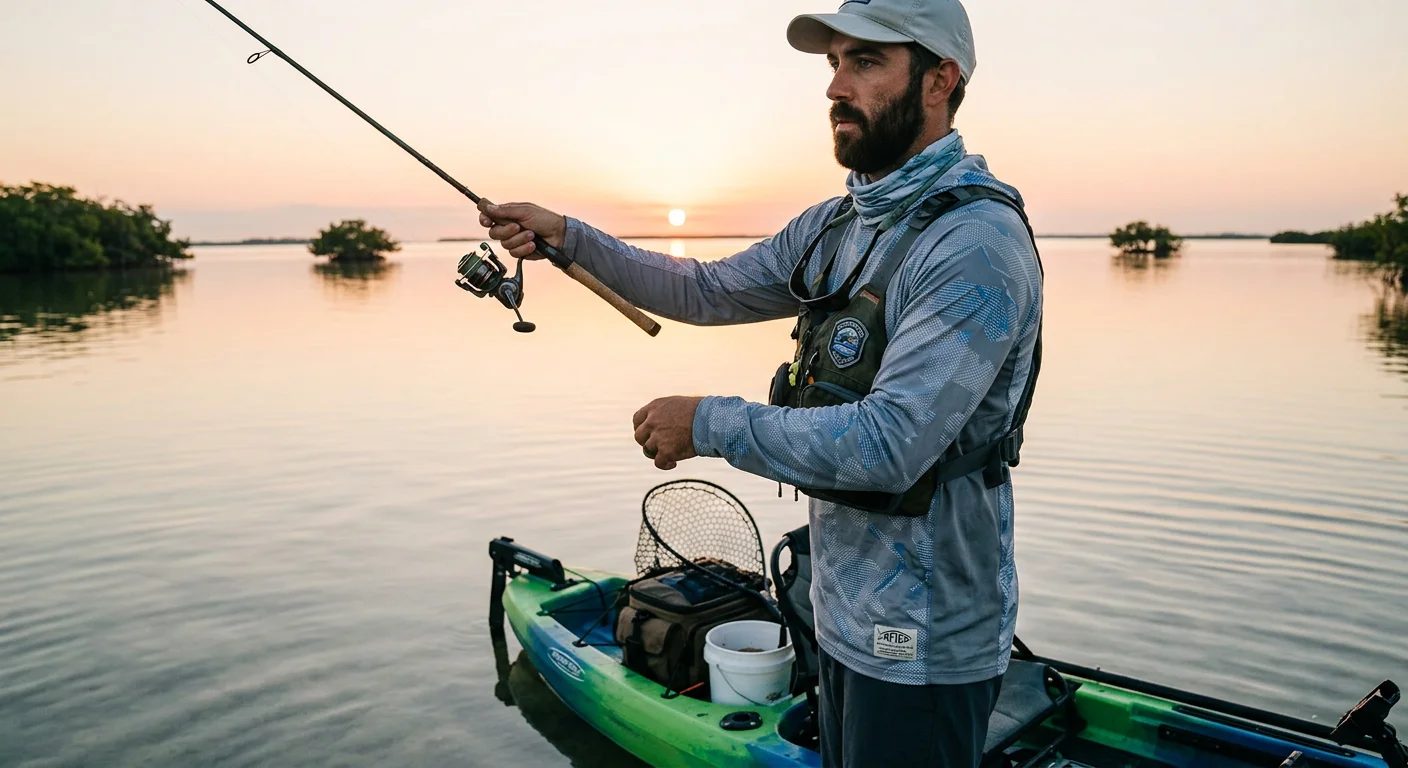
Most custom fishing apparel orders don't fail at production — they fail at sampling. A color that looked perfect on screen ships back as a different garment. A size medium fits like a large. The moisture-wicking fabric you requested got swapped for something cheaper. No warning. No explanation.
Been burned before? Or just want to avoid it the first time? You don't need a factory that claims to deliver sublimation fishing shirts in 7–10 days. You need to see what actually happens inside those 10 days — hour by hour, decision by decision.
That's what this breakdown covers. It's a transparent, day-by-day walkthrough of the custom sportswear prototyping process, built from the factory floor up. You'll know what to prepare, what to watch for, and how to reach sample approval without a surprise charge or a rejected shipment.
Pre-Sampling Preparation: 5 Essential Inputs to Lock Before Day 1
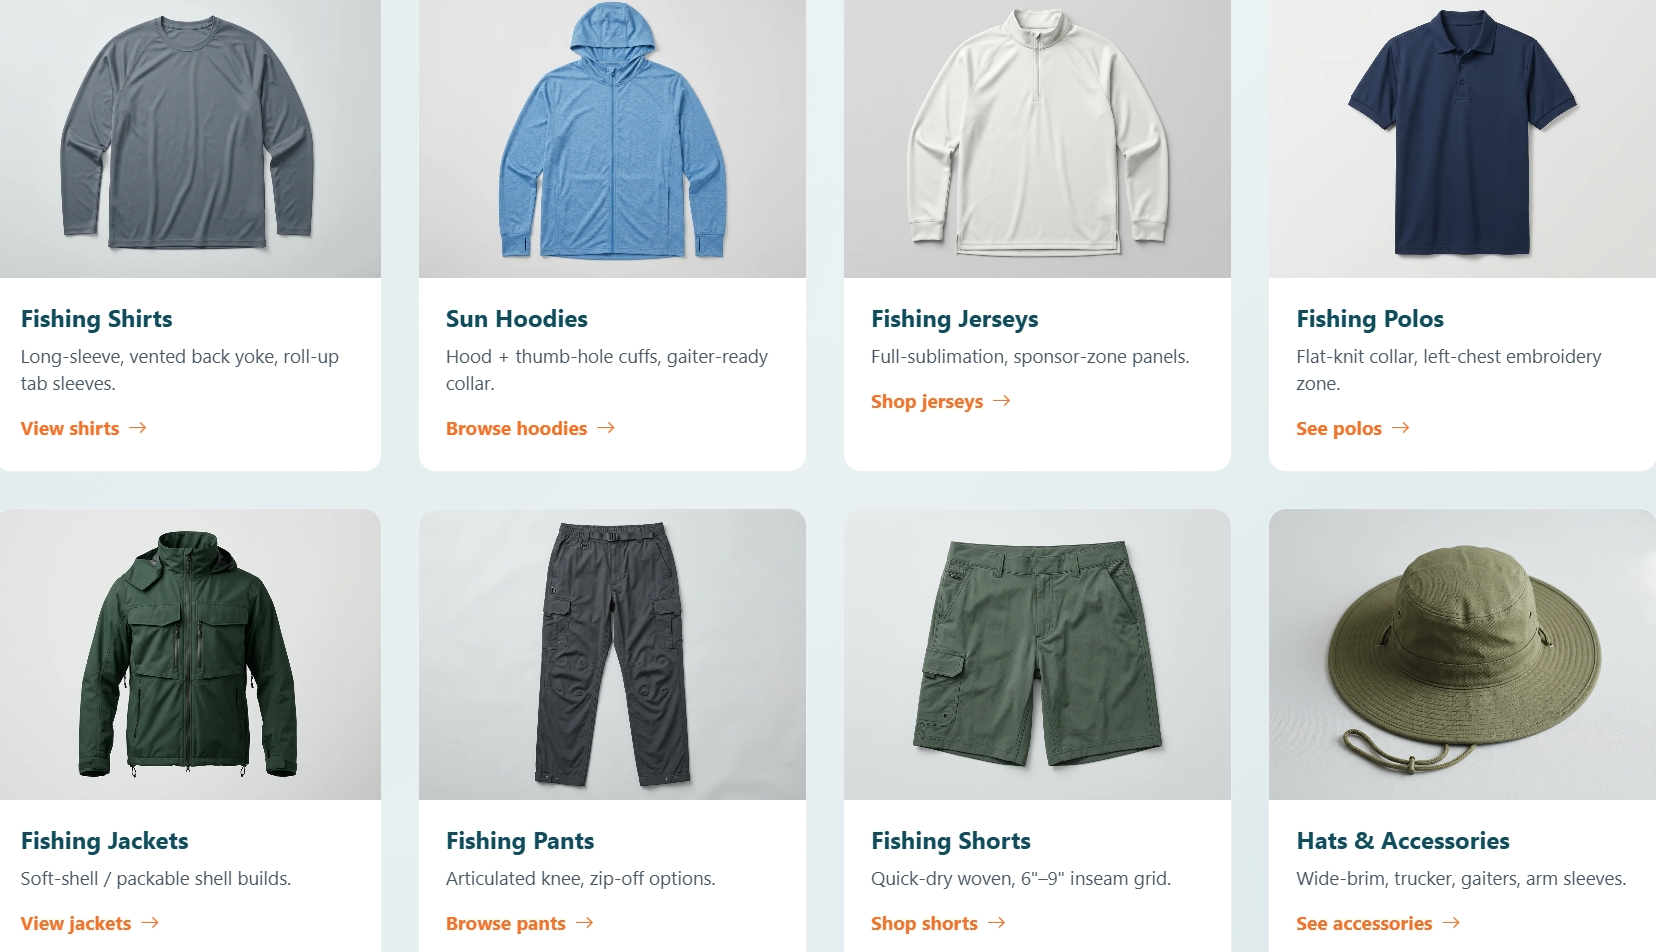
Here's a hard truth from the factory floor: most sampling delays don't come from slow production. They come from incomplete information on Day 1.
Before a single panel gets cut, your factory needs five things locked down. Not "mostly ready." Not "I'll send the rest later." Locked. Every missing input costs you 24–48 hours of back-and-forth. The machines haven't even warmed up yet.
1. Print-Ready Vector Design Pack
Send AI, EPS, or editable PDF files. No PNG. No JPG. Low-res artwork means someone on the factory floor has to redraw it. That adds days, not hours.
Make sure every font is converted to outlines. Separate every panel: front body, back body, left sleeve, right sleeve, collar. Label your layers by name — FRONT_BASE , SPONSOR_1 , PLAYER_NUMBER_BACK . Add 5–10 mm bleed outside the cutting lines. Skip this step and you'll see white edges at the seams on your sublimation fishing shirts.
2. Pantone TCX/TPX Color Map
RGB and HEX work on screens. Fabric dye is a completely different world. Specify every color — body panels, contrast stitching, collar trim — using Pantone FHI codes. Use TCX for cotton blends and TPX as backup. Set your tolerance at ΔE ≤ 2.0–3.0 for critical brand colors before production starts.
This one step cuts out 80% of the color-drift complaints that hit first-time custom sportswear buyers.
3. Graded Size Chart With Tolerances
A size chart without tolerances is just a wish list. Your graded spec needs four measurements across every size from S to 3XL:
Chest width (pit-to-pit)
Body length from HPS
Sleeve length
Hem width
Hold the factory to ±0.5 cm on S–XL. Running 2XL–3XL? State in writing that ±0.5 cm still applies . Some factories default to ±1.0 cm at extended sizes. That's how a "large" ships back fitting like an XL.
4. Fabric Specification Sheet
Name the fabric. Spec the fabric. For full dye sublimation printing, you need 100% polyester . Cotton blends produce dull, migrated prints — avoid them.
For UPF fishing apparel, require a UPF 50+ rating with the test standard written out (AS/NZS 4399 or equivalent). Target 130–140 GSM for performance jerseys. Bump to 180+ GSM where sun protection is the priority. Need 4-way stretch? Specify 90–92% polyester / 8–10% spandex with ≥90% stretch recovery after 50% extension.
5. Budget and Volume Framework
Sampling without a production target is guesswork. Send a one-page commercial brief with three things:
Your realistic bulk order tier (50–99 pcs, 100–249 pcs, or 250+ pcs)
Your target FOB range
Your hard delivery deadline
For sublimated fishing tournament jerseys, Asia FOB benchmarks sit at US$10–15 per jersey at 100–249 pcs . Add 15–30% for premium UPF 50+ fabrics with 4-way stretch. Give the factory your budget ceiling on Day 1. They'll spec the right materials straight away — not after three rounds of cost negotiation post-sample.
Pack all five inputs into one folder before you contact any factory. That folder is the difference between a 7-day sample and a 14-day delay.
Day 1: Design Intake, CAD Drafting & Fabric Block Selection
The clock starts the moment your five-input folder lands in the factory inbox.
Day 1 isn't a planning day. It's a decision day — and three things happen at the same time before noon.
Step 1: Design Intake Interview
A technical stylist reviews your brief and asks two questions most buyers never think about: Where are you fishing? and What are the conditions?
Saltwater tournament fishing needs different construction than freshwater wading in humid heat. These are two completely different garments. The factory records your environment data — UV index, humidity, wind exposure — and assigns your garment type (tournament jersey, guide shirt, wading shell). That one intake conversation drives every material choice from that point on.
Step 2: CAD Block Drafting
Pattern software turns your size chart into a production-ready flat sketch. Key construction specs get locked in:
Collar stand height: 30–40 mm at center front
Side vent height: 60–100 mm from hem
Chest pocket width: 110–140 mm
Seam allowances: shoulder 1.0 cm, side seam 1.5 cm, hem 4.0 cm
Front, back, and sleeve views export as PDF for your silhouette sign-off. You also get DXF files ready for cutting software.
Step 3: Fabric Block Selection
Three swatches get pulled based on your use case:
Block | Target Use | Weight | Key Spec |
|---|---|---|---|
Freshwater Breathable | Hot/humid inland fishing | 90–130 gsm | Air permeability ≥ 150 L/m²/s |
UPF Shield | Mixed sun/spray exposure | 130–170 gsm | UPF 50+, blocks ≥ 98% UV |
Saltwater Tournament | Offshore boat fishing | 150–220 gsm | Abrasion ≥ 20,000 Martindale cycles |
You pick one. That block code goes into every pattern piece before Day 1 wraps up.
Day 1 Client Checkpoint
Two approvals must come in before Day 2 starts: your CAD silhouette sign-off and your confirmed fabric block. Miss either one, and the timeline doesn't slip by hours — it shifts by a full production day.
Day 2: Tech Pack Finalization & Pantone Color Lock
Two documents leave this factory floor locked and signed before Day 2 ends. No exceptions.
The tech pack and the color approval sheet. Miss either one, and you're not sampling — you're guessing.
The Tech Pack locks every construction decision:
Fabric BOM: fiber content, GSM, supplier code, Pantone-tied color reference
Stitch specs per zone — 4-thread overlock on shoulder seams, coverstitch at hems (8–10 SPI), lockstitch at neck binding (10 SPI)
Seam allowances by location: 10 mm standard, 6 mm at necklines
Zipper grade (YKK #5, 3,000–5,000 pull cycles minimum), label placements, care symbols
The Pantone Color Lock works like this:
The mill dyes small fabric batches — lab dips — targeting your exact Pantone TCX code. A color reader then checks every panel against your approved standard:
Zone | ΔE Tolerance |
|---|---|
Front/back body, upper sleeve, collar | ≤ 1.5 |
Under-sleeve, back yoke, inner placket | ≤ 2.0 |
Thread, zipper tape, hard trims | ≤ 2.0 |
One "golden lab dip" gets approved as the permanent bulk standard. That single card becomes the reference point for every piece that follows — every sublimation fishing shirt, every fishing tournament jersey.
Day 2 Client Checkpoint: Sign the tech pack version number. Attach the spectrophotometer readings to the color approval sheet, then sign that too. No signature, no cutting.
Day 3: Dye Sublimation Printing Setup & Digital Proof Run
Ink hits fabric for the first time today — and this is where most factories lose control without anyone noticing.
The press operator doesn't just load your file and press print. Before a single panel runs, three calibration steps lock down the system. Skip any one of them and your tournament neons print orange. Your sponsor black prints brown. And nobody catches it until the full run is done.
Step 1: RIP Calibration & ICC Profile Setup
Every fabric batch gets its own ICC profile. Polyester at 220 gsm reacts to ink in a distinct way compared to 130 gsm. Same ink, but the color output is not the same. The RIP operator loads the fabric-matched profile — something like Polyester_220gsm_TournamentNeon_v3.icc . Then they run linearization and full color calibration before touching your artwork.
Design files enter the system in CMYK color mode, ≥300 dpi, uncompressed TIFF or PNG . A standard color chart prints next — deep blacks, neon patches, all on the exact sublimation paper and polyester batch used for your order. The operator measures every key color with a spectrophotometer. Target: ΔE < 2.0 against your Pantone reference.
A neon reads ΔE 3.1? The operator drops CMY density in that channel and re-measures. This loop runs until every critical color clears the threshold.
Step 2: Heat Press Parameters — Documented, Not Guessed
Parameter | Target Range | Example Value |
|---|---|---|
Temperature | 190–210°C | 196°C / 385°F |
Pressure | 4–5 bar | 4.5 bar |
Dwell time | 45–60 s | 60 s |
Before pressing, the fabric goes through a 5–10 second preheat. This pulls out moisture. Then the operator lint-rolls it clean. The platen temperature gets spot-checked with an IR thermometer — not just read off the dial. All values are logged by batch.
Step 3: The 30×30 cm Proof Run
A 30×30 cm test panel prints first. It covers solid brand color patches, tournament neons, a grayscale ramp, fine text down to 6pt, and thin lines at 0.25–0.5 mm. This one panel answers three questions:
Color accuracy — does it clear ΔE < 2.0 under D50 lighting against your Pantone swatches?
Edge sharpness — no ghosting, line deviation under 0.1 mm on sponsor text and player numbers
Fabric handfeel — soft and flexible after transfer, no resin stiffness, no cracking under stretch
Something fails? The operator adjusts ink density or press time and runs another proof. Full panel printing doesn't start until all three pass.
Day 3 Client Checkpoint
You get a physical swatch plus a parameters sheet. It lists the approved ICC profile, RIP preset, and heat press recipe. Your sign-off locks full-size panel printing to those exact settings — fabric batch ID included. No signature, no panels cut.
Day 4: Marker Optimization & Precision Fabric Cutting
Fabric waste is profit walking out the door. Day 4 is where factories either protect that margin or bleed it away.
Before a single blade touches your sublimation fishing shirt panels, the cutting room runs one calculation that controls everything: Marker Efficiency = Total Garment Area ÷ Total Fabric Area Used × 100 . The floor target is ≥85% . Drop below that and your per-unit cost climbs — before sewing even starts.
Here's how that number gets hit:
Multi-size nesting (4–6 sizes per marker) fills the gaps that single-size markers leave behind. This recovers 2–5 efficiency points
Pairing extreme sizes (XS with 3XL) closes gaps that automated nesting algorithms can't solve on their own
Ratio markers match the size mix to your actual order split. No wasted cuts on sizes you didn't order
One detail that kills efficiency without warning: a marker built for 58" fabric failing on a 57" roll. Every panel gets checked against actual roll width. Usable width must clear marker width by at least 0.5" per edge . That check happens before digital nesting locks in.
Print direction adds another layer of control. Your tournament jersey graphics are directional. All panels orient the same way — even when that costs 3–8 efficiency points versus a non-directional layout. That's a non-negotiable trade.
Cutting runs at ±1 mm tolerance using CNC oscillating blades. The operator holds a 15–20° blade angle and moves in one continuous stroke — no lifting, no jerking. After cutting, the team sorts every panel by size, colorway, and lay number. Each bundle gets a ticket showing style code and quantity.
Day 4 Client Checkpoint: You receive overhead cutting table photos. These show the marker outline, print registration marks, and a marker efficiency report. Target: 87–90% achieved . Sign off on the marker version ID before bulk cutting releases.
Day 5: Assembly Line Sewing & Seam Construction
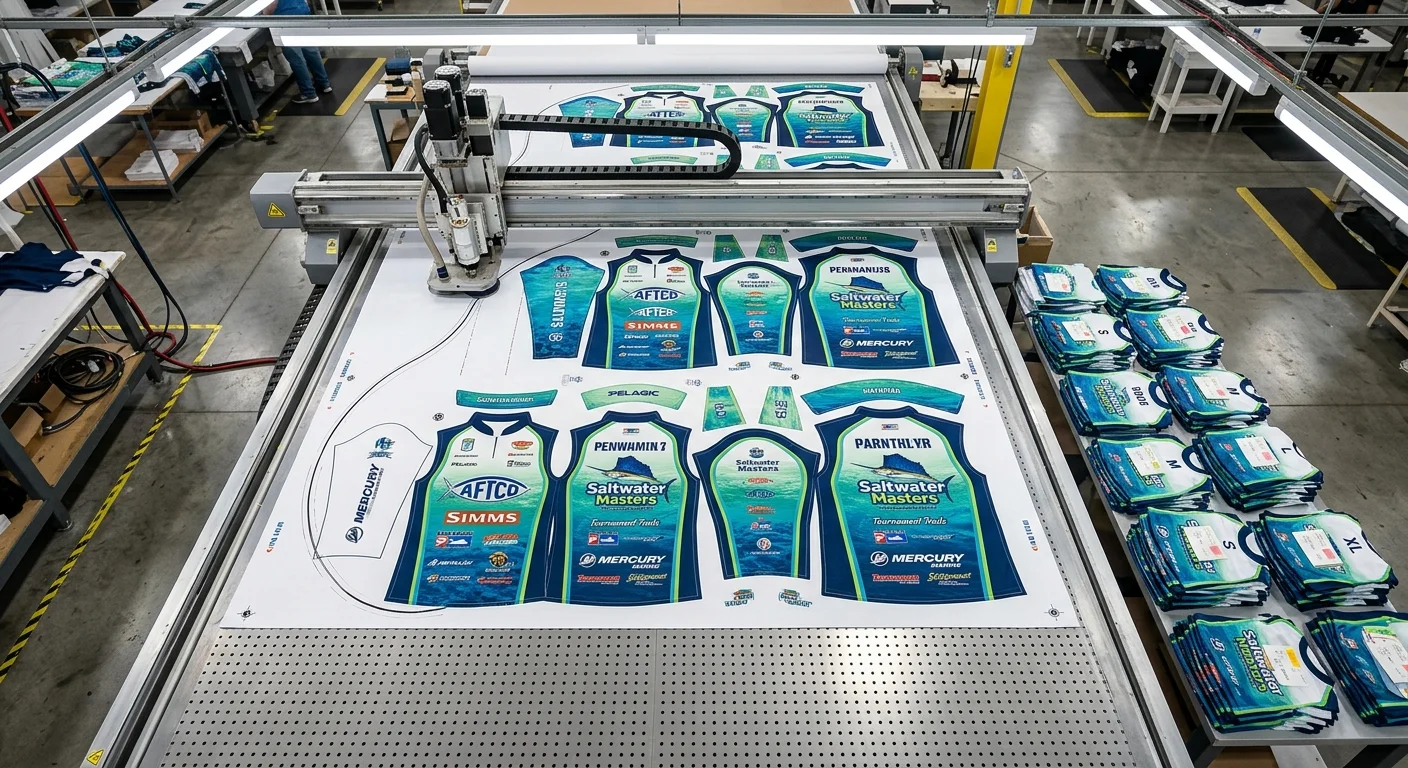
Panels on the table. Thread loaded. This is where a perfect print either becomes a finished garment — or a scrap pile.
The sewing floor runs on one rule: batch by operation . Every operator finishes the same seam across the entire run before the stack moves forward. All shoulder joins first. Then side seams. Then sleeves. This isn't just about speed. It's the one way to catch a tension problem or a misaligned print before it copies itself across 50 units.
Seam construction by zone:
High-abrasion areas (shoulders, side seams): flat-felled construction at 3/8" (1 cm) offset — raw edges folded, enclosed, and topstitched clean. Zero fraying. Zero bulk catching on rods or gear
Standard joins : 5/8" (15 mm) seam allowance, 4-thread overlock finish
Curved or bias joins : curved side faces up during stitching to prevent distortion
Stitch density holds at ≥12 SPI throughout. Bartacks land at every stress point — pocket corners, vent openings, seam terminals.
Print registration doesn't stop at Day 3. Before any panel pair gets sewn, the operator checks that graphics line up straight across the seam line. A 2 mm drift at the side seam destroys a tournament jersey's sponsor panel. That check happens at the machine, by hand, every single time. No exceptions.
Work-in-process QC runs in two passes:
Stitch density spot-check against the tech pack spec
Seam pull test at armholes, yokes, and side seams — weak joins get caught here, not in a customer return
Day 5 Client Checkpoint: You receive stitching photos at the panel-join stage. Flag any puckering, misalignment, or tension issues now . Once the garment moves to the next operation, a seam correction costs four times more to fix.
Day 6: Functional Integration & Stitching QC
The garment looks finished. It isn't.
Panels are sewn. Prints are clean. But every zipper, collar binding, and underarm gusset still needs a hands-on stress test. Until that's done, you don't have a fishing shirt — you have an optimistic prototype.
Day 6 is the gate between "assembled" and "approved."
Hardware Checks First
Every front zipper runs 5–10 full open/close cycles . Smooth pull, no jamming, no teeth skip. Then comes a manual pull test at the top and bottom stops. That's where weak bar-tacks show up — before a customer's rod hand finds them instead. Zipper attachment seams must hold at 8–12 SPI minimum . Anything under spec gets flagged on the spot.
Collar binding checks in at 10–15 mm finished width, ±1 mm tolerance around the full neck circumference. The UV tape roll ID gets cross-checked against the BOM. Tape grades can get swapped during cutting. Day 6 catches that — not the customer.
Underarm gussets get measured against the graded pattern at key points (±0.5 cm tolerance) . Each gusset junction — front panel, gusset, back panel — gets a seam pull test. Gusset corners are the first spot to fail under arm movement. Check them twice.
Moisture-Wicking Spot Test
A 0.05–0.1 mL water droplet hits the inner mesh panel. The clock starts. Target: visible spread to 10–15 mm diameter in under 10 seconds . Still beading at 15 seconds? That roll gets quarantined by fabric roll ID. No guessing, no averaging. Dry-back check follows: touch-dry within 20–30 minutes , measured against the golden sample.
Stitching QC & Defect Quarantine
Three defect types trigger an hold:
Thread breaks — seam gaps visible under mild pull, loose thread ends
Skipped stitches — periodic holes along the seam line, typically a machine timing issue
Print cracks — flex the garment at underarms and shoulders; any flaking or adhesion loss on logos means panel quarantine, full stop
Each quarantined piece gets a defect code, a physical "Hold" tag, and a disposition record. All three happen before anything moves forward.
Day 6 Client Checkpoint: You get a QC form with zipper cycle results, wicking times by roll ID, SPI readings at functional seams, and a quarantine count with defect codes. Go through it line by line. This is your last clean chance to step in before final assembly locks the garment.
Day 7: First Fitting & Range-of-Motion Test
The garment is in human hands now. That changes everything.
A spec sheet can't tell you whether a shoulder seam binds at 130° of arm flexion. A flat measurement can't tell you whether the hem rides up when your angler reaches overhead for a cast. Day 7 is where data meets the body — and the body always wins.
The fit model must match your base size. For a men's size M, that means a chest of 38–40 in (96–101 cm). Everything grades up and down from this person. Test on the wrong body, and your entire size run calibrates against bad data.
The ROM sequence runs in four movements:
Forward and side casts (10× each): The model simulates a full rod swing. Shoulders need to reach ~150° flexion without binding at the upper back, armhole, or biceps. Flag any drag lines at the front armhole or lat area right away.
Reeling cycles (10×): Elbow at ~90°, shoulder at 20–40° abduction. Watch for sleeve twist, wrinkling, and whether the cuff pulls over the hand during the motion.
Overhead hold (both arms, 10 seconds): Target hem rise of ≤3–4 cm on a hip-length fishing shirt. More than that, and coverage fails at the worst moment — mid-cast, mid-rain.
Deep squat (90–110° knee flexion): Arms forward, simulating rod grip. No visible strain lines at the seat. Back rise should not drop more than 2–3 cm .
Each movement gets a Pass / Needs Ease / Pattern Change verdict. You also get a zone note — something like "R front armhole binds at overhead cast" — plus three photos: front, side, back.
The dimension audit runs at the same time. Let the sample hang relaxed for 24 hours. Then measure it flat against the graded spec:
Point of Measure | Tolerance |
|---|---|
Chest width | ±1.0 cm |
Back length (CB to hem) | ±0.7–1.0 cm |
Sleeve length from HPS | ±0.7 cm |
Cuff circumference | Must clear hand breadth +1–2 cm minimum |
Sleeve pitch gets checked here too. A natural forward rest of 15–25° is correct. Extra creasing at the back sleeve as the arms move forward points to an under-pitched sleeve. That's a pattern correction — not a minor grading tweak.
Fabric stretch and recovery get verified on the actual sewn garment:
Main body panels: ≥20–40% crosswise stretch , ≥90–95% recovery after a 30-second extension
High-stress zones (elbows, underarms): >95% recovery required
Seam SPI at stretch zones: 8–10 SPI on overlock — tight enough to hold, loose enough to allow free movement
The underarm gusset sometimes limits overhead reach before 130°. The fix is a gusset depth increase of 3–5 cm . Back shoulder action pleats at 1–2 cm per side clear up casting restriction at the shoulder blade. They do this without touching the visible silhouette.
Day 7 Client Checkpoint: You receive a structured revision package. It includes a measurement table (Spec / Actual / Delta / Fit Impact / Recommendation), annotated movement photos with circled issue zones, and a written ROM note for each flagged position. You then make one of three calls: "Fit to Proceed," "Proceed with minor grading only," or "Require new proto with pattern changes." That decision — and that decision alone — unlocks Day 8.
Day 8: Structural Tweaks & Performance Verification
Day 7 gave you data. Day 8 turns that data into decisions — and locks them into the production master for good.
Two things run at the same time today. First, every structural issue flagged during fitting gets corrected at the pattern level. Second, the garment goes through three rounds of wash, dry, and UV testing to prove it performs in real conditions.
Pattern Corrections Come First
Every Day 7 fit note maps to a specific, measurable pattern change. Nothing gets fixed by feel.
Sleeve pitch: Front drag at the armhole? Rotate the sleeve 2–5° forward at the bicep line. Keep cap height change within ±3 mm . Go beyond that and you swap one mobility problem for another. After the adjustment, confirm front and back notch distances stay within ±2 mm of the original spec.
Torso length: Hem riding up during casting? Add 10–20 mm at the hem, split front and back in equal parts. Graded sizes hold the same delta — grade rule progression stays at +6 mm per size across the run.
Vent depth: Vent popping open in a neutral stance? Add 10–15 mm depth plus 5–8 mm across the scapula. Vent collapsing inward? Trim 5–10 mm and straighten the vent edge to within 3 mm parallel to center back.
Tag every change with a version number — something like v1.3-D8 — and archive the previous version. That trail matters. Bulk production can raise questions six weeks from now, and you need the record.
Wash & Shrinkage Testing
Three garments per colorway. Three full machine wash-and-dry cycles. 40°C wash, medium heat tumble dry (60–80°C drum temp), standard non-bleach detergent at 5–7 g/L.
Measure chest width, body length, sleeve length, and shoulder width before and after cycle 3:
Shrinkage % = (Before − After) ÷ Before × 100
The pass threshold is <2% per dimension. Hit 2–3% and you're in borderline territory. Flag it and talk pre-shrink finishing with the factory. Over 3% means the pattern needs a compensating adjustment equal to shrinkage % + 0.5–1.0% . The care label also needs a close review.
Check print and color durability on a gray scale. Grade 4–5 after 3 cycles is the minimum pass. For sublimation fishing shirts, acceptable color fade sits at ΔE* ≤ 3–4 on solid panels. Any cracking or delamination under 2× manual stretch is an automatic fail.
UPF 50+ Verification
For UPF fishing apparel, "it's 100% polyester" isn't enough. You need lab numbers.
Test every exposed fabric zone — body panels, sleeves, vents, mesh — as separate zones against AS/NZS 4399 or AATCC 183. The Day 8 target isn't UPF 50. It's UPF 55–70 . That range gives you a real safety margin against daily wear and repeated washing.
A vent mesh panel comes back under UPF 50? Two options. Replace it with a higher-density knit — aim for +15–30 gsm — or treat it with a UV-absorbing finish and retest. Either way, lock the certified fabric code in the BOM. Not just in the spec sheet comment line — in the BOM itself.
Day 8 Client Checkpoint
You get a redlined spec sheet with every changed measurement marked. Plus a pattern change log showing exact mm values and sizes affected. Pre/post-wash measurement tables and UPF results by fabric zone are included too. Your call on each item: Approve , Request further change , or Hold for retest. The version you sign — Spec v1.3-D8 — becomes the production master. That signature unlocks Day 9.
Day 9: Pre-Production Measurement Audit & Final QC
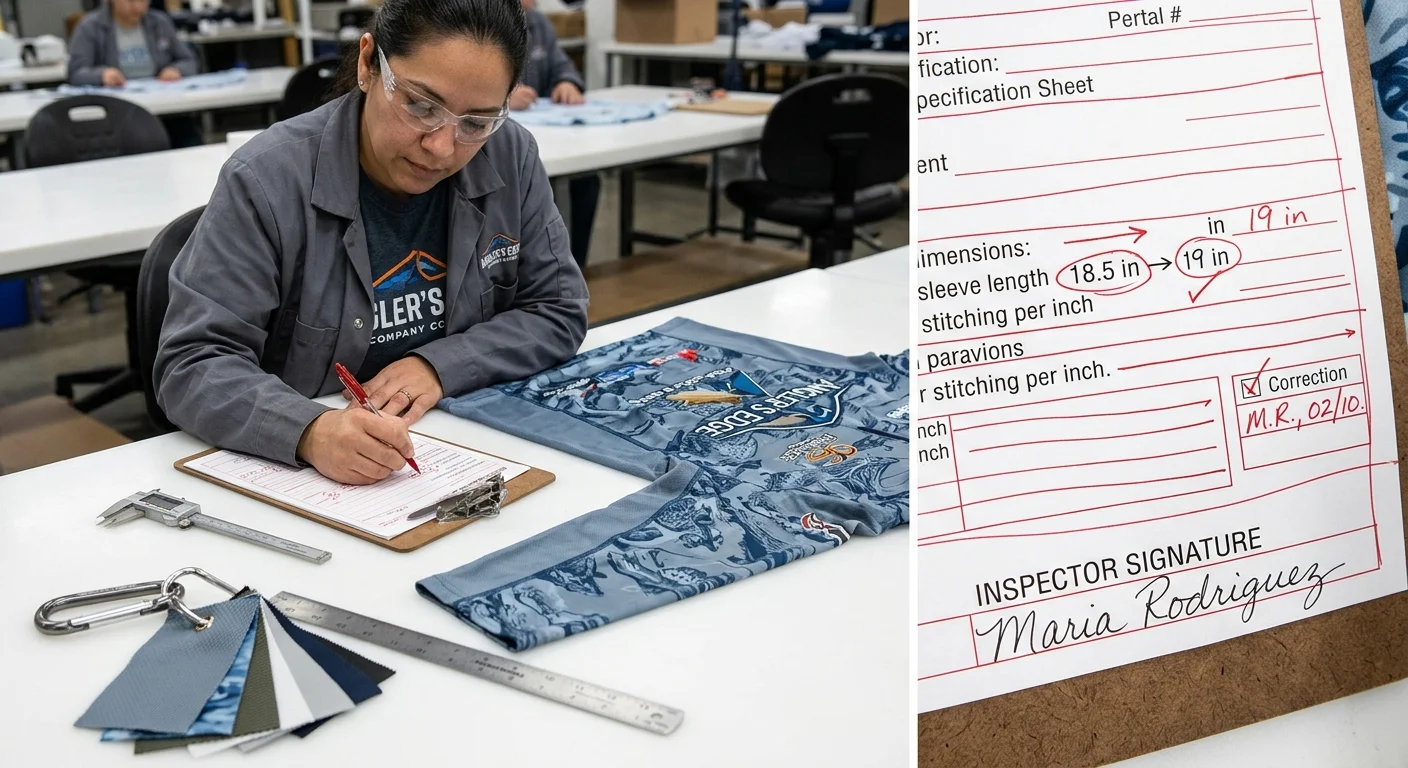
Signed specs mean nothing if the garment on the table doesn't match them. Day 9 is the last gate before bulk production starts. It runs three checks in order: dimensions, defects, and labels.
12-Point Dimensional Audit
Three pieces per size get measured flat against the approved tech pack. Every critical point must land within ±1 cm:
Measurement Point | Target | Acceptable Range |
|---|---|---|
Chest width (1" below armhole) | 50 cm | 49–51 cm |
Body length (HPS to hem) | 68 cm | 67–69 cm |
Sleeve length | 63 cm | 62–64 cm |
Across shoulder | 42 cm | 41–43 cm |
The pass threshold is ≥95% of measured points within tolerance . No critical fit point can exceed ±1 cm on more than 10% of samples. Any single point fails by more than 1 cm? The sample expands to 10 pieces per size, right away.
AQL Visual Inspection
For a 300-piece lot, 50 pieces get pulled. The lot passes if major defects stay at ≤3 and minor defects at ≤4 . Five defect categories get checked on every piece:
Print micro-cracks — inspected under 500–1,000 lux at 30–40 cm; cracks on >10% of print area = major defect
Zipper performance — 10 full cycles per garment; one jam or puller detachment = automatic major flag
Seam stretch recovery — 10–20% manual extension; any popping sound or visible gap = major defect
Fabric handfeel — checked against the approved golden sample; over-finished stiffness across >20% of inspected pieces triggers lot quarantine
Collar symmetry — tilt deviation >3 mm side-to-side, visible from 1 meter = major defect
Label & UPF Compliance
Ten pieces per color/size get pulled for label checks. Every label must carry fiber content, care symbols (ISO 3758), country of origin, and size indication. No exceptions. For UPF fishing apparel, the UPF 50+ claim ships only with two conditions met: the AS/NZS 4399 lab report must be on file, and the rating must hold after 10 wash cycles. Heat-transfer labels go through a 30-second thumb rub test. Any edge lifting is an automatic fail.
Day 9 Client Checkpoint
You get a QC report with the full 12-point measurement summary, AQL defect counts by category, and label compliance results by market. Along with that, you get front/back/side photos on a model or mannequin for each key size. Plus close-ups of the collar, zipper, and print registration. At least five measurement photos with the tape visible in frame are included too.
Your call is binary: GO for bulk, or corrective action with specific numerical targets . For example: "reduce loose thread rate from 8% to under 2% before packing approval." No vague feedback. No verbal sign-offs. Written decision with targets attached.
That written GO is what unlocks Day 10.
Day 10: Sample Approval Sign-Off & Global Dispatch
The sample either ships today — or it doesn't. There's no middle ground on Day 10.
Everything from the past nine days comes down to one document: the formal sign-off form . It records the project name, sample ID, responsible manager, approver name, title, date, and signature. That signed form is what unlocks bulk production and global dispatch. No verbal confirmations. No email threads. One signed form.
Golden Sample Sealing
After you sign the approval, we seal the final sample as the Golden Sample . It gets a unique ID and goes into the archive as the permanent benchmark for bulk production. We keep three copies: one for the factory floor, one for the QC team, and one for you.
Each sealed record includes:
- Batch ID and fabric lot number
- Print parameters (ICC profile, press temp, dwell time)
- Key approved dimensions
- Color and material details
- High-resolution photos
This isn't just paperwork. Six weeks into bulk production, a QC dispute can come up. This record is the neutral referee — no guesswork, no he-said-she-said.
Dispatch Package & Courier Handoff
The approved sample ships with a full set of documents: polybag seal, custom fishing apparel hangtag, care label, commercial invoice, and packing list. We send it via DHL, FedEx, or UPS. The tracking number goes straight to your client portal on the same day as pickup.
Your sign-off kicks off three things at once:
1. Deposit release
2. Bulk production scheduling
3. Production package handoff to the fishing apparel manufacturer
One signature. Ten days. Your custom fishing apparel goes from concept to confirmed sample — with a clear, traceable record at every step.
Top 4 Sampling Failures & Exact Prevention Protocols
Four problems kill more custom fishing apparel samples than anything else. Not bad factories. Not slow timelines. These four — and every one of them is preventable before bulk production starts.
Failure 1: Color Drift Beyond ΔE 2.0
Your tournament neons print orange. Your sponsor black ships as brown. The factory saw it on screen and called it close enough.
What causes it: The RIP profile wasn't calibrated to your specific fabric batch. Or the lab dip came from a different yarn lot than bulk. Or — the most missed culprit — color got approved under factory fluorescent lighting instead of D65 daylight. Same garment, two different colors depending on the light source. That's metamerism. It stays hidden until the sample lands on your desk.
Prevention protocol:
- Require spectrophotometer lab dip reports for every critical color before print approval
- Lock numeric tolerances in your tech pack: ΔE ≤ 1.5 on logos and color-block seams; ΔE ≤ 2.0 on large body panels
- Approve color under D65 daylight or outdoor natural light — never under fluorescent
- Add a contractual clause: any zone exceeding ΔE 1.5 triggers a mandatory reprint at the factory's cost, covering ink, labor, and re-cut
Failure 2: Pattern Block Mismatch — The "Fits Like a Box" Problem
A size medium arrives. It looks like a medium on a hanger. Your angler puts it on and can't reach overhead for a cast. The back panel pulls tight across the shoulders.
What causes it: The factory ran your fishing tournament jersey through a casualwear grading block. Casualwear blocks aren't built for 150° shoulder flexion. They're built for standing in line at a coffee shop. Fit gets checked in a static pose only. Nobody runs a structured movement test.
Prevention protocol:
- State in your tech pack: athletic/performance block required — not generic casual
- Add casting ease to the spec: +1.5 cm back width and shoulder span over base body measurement
- Run a dry-fit session at Day 7 with a live model. Use a mandatory movement checklist: forward cast, reeling cycle, overhead hold, deep squat
- Write every fit note in " what + where + fix " format — not vague comments, specific pattern corrections
Failure 3: Fabric Swap — Wrong GSM, Wrong Hand Feel
You spec'd 140 gsm moisture-wicking polyester. What ships is a 115 gsm piece-dyed substitute. It drapes like tissue paper and stiffens after one wash.
What causes it: Nobody checked GSM before cutting. A different fabric lot got pulled from inventory. Or the factory used a heavy resin finish to cover a cheaper base fabric. No one tested handfeel post-wash before the sample shipped.
Prevention protocol:
- Cut and weigh a swatch before any cutting begins: ±5% GSM deviation triggers immediate escalation
- Require a pre-production fabric sample — not a 10 cm swatch, actual trial meterage — to test drape, handling, and batch consistency
- State in the BOM whether fabric must be yarn-dyed or piece-dyed. The two behave in very different ways for shrinkage, handfeel, and wash color
- Mandate a post-wash handfeel test before Day 4 cutting : compare against the approved master fabric, reject if handfeel is harsher or stiffer
Failure 4: Print Cracking & Sublimation Adhesion Failure
The sublimation fishing shirt looks perfect at sample approval. After three washes, the underarm print cracks. The chest logo flakes at the edges. A sponsor panel starts peeling at the seam line.
What causes it: Polyester content dropped below 85% in the blend. Sublimation needs a minimum of 100% polyester for all-over print zones to hold dye. Or press temperature ran low. Or dwell time got cut short to speed up throughput. No adhesion test ran at sample stage, so the problem stayed hidden.
Prevention protocol:
- Enforce 100% polyester for all sublimation print zones in both the tech pack and PO — no exceptions
- Run a cross-hatch adhesion tape test on every sample: cut a fine grid through the print, apply standardized adhesive tape, peel at a fixed angle; ≤5% print removal is the pass threshold
- Require a minimum 3 wash cycles on the pre-production sample before bulk approval. Check for color change, cracking, peeling, and seam torque
- Document sublimation SOP settings — 200–210°C, 40–60 seconds, specified pressure — and track with SPC during bulk production runs. Any drift outside range triggers an immediate line stop
Real Cost Breakdown: Sample Fees, Revisions & Freight Benchmarks
Numbers matter. Before you commit to a factory, know what a sample costs — not a vague estimate, but a line-by-line figure you can hold a fishing apparel supplier to.
Proto sample fees for sublimation fishing shirts run $45–$80 per style from a mid-tier Asian factory. Complex multi-panel tournament jerseys with UPF construction push to $85–$120. Here's what that total covers:
CAD pattern setup: $10–$25
Tech pack drafting: $10–$30
Fabric offcuts and consumables: $5–$15
Machine time (cut, sew, press): $5–$20
QC and measurement report: $5–$15
Any factory that won't show you this breakdown line by line? That's your first red flag.
Revision fees work on a tiered structure. Most factories include 1–2 minor correction rounds in the base fee. Past that, budget $20–$40 per revision round for standard changes — re-cutting panels, stitch adjustments, minor fit tweaks. Major pattern rework adds another $10–$25 on top. Lock your exposure in writing: "total revision charges not to exceed $60 per style beyond the initial sample fee."
Express freight from Asia to the US or EU runs $35–$60 for priority 3–5 day delivery on a 1–2 garment sample package. Ask for the full freight breakdown — base rate, fuel surcharge, remote area fees. Also confirm whether they bill by actual weight or volumetric weight. These two figures can differ more than you'd expect.
One lever worth negotiating upfront: sample fee credits . At 50+ pieces confirmed, most factories credit 100% of your sample fee against the bulk invoice. At 20–49 pieces, expect 50–70% back. Get the credit threshold and minimum order quantity in writing before sampling starts. Those terms change your real cost of entry by a wide margin.
Conclusion
The 10-day clock starts the moment your design files land in our inbox — not when you think they do.
That's what most first-time buyers miss. Delays don't happen on the factory floor. They happen in the back-and-forth. Missing Pantone codes. Vague size charts. "We'll figure it out later" fabric decisions. Lock those five inputs before Day 1. The process goes from feeling complex and expensive to a clear, step-by-step production timeline — no surprises.
Launching a custom sublimation fishing shirt line? Outfitting a tournament team? Testing your first 3-piece sample run? The process is the same for all three. Factories that deliver in 7–10 days aren't cutting corners. They're closing your preparation gaps.
Your next move : Download the sampling checklist. Prep your five inputs tonight. Send your first inquiry tomorrow.
The sample won't build itself. But now you know how it gets built.