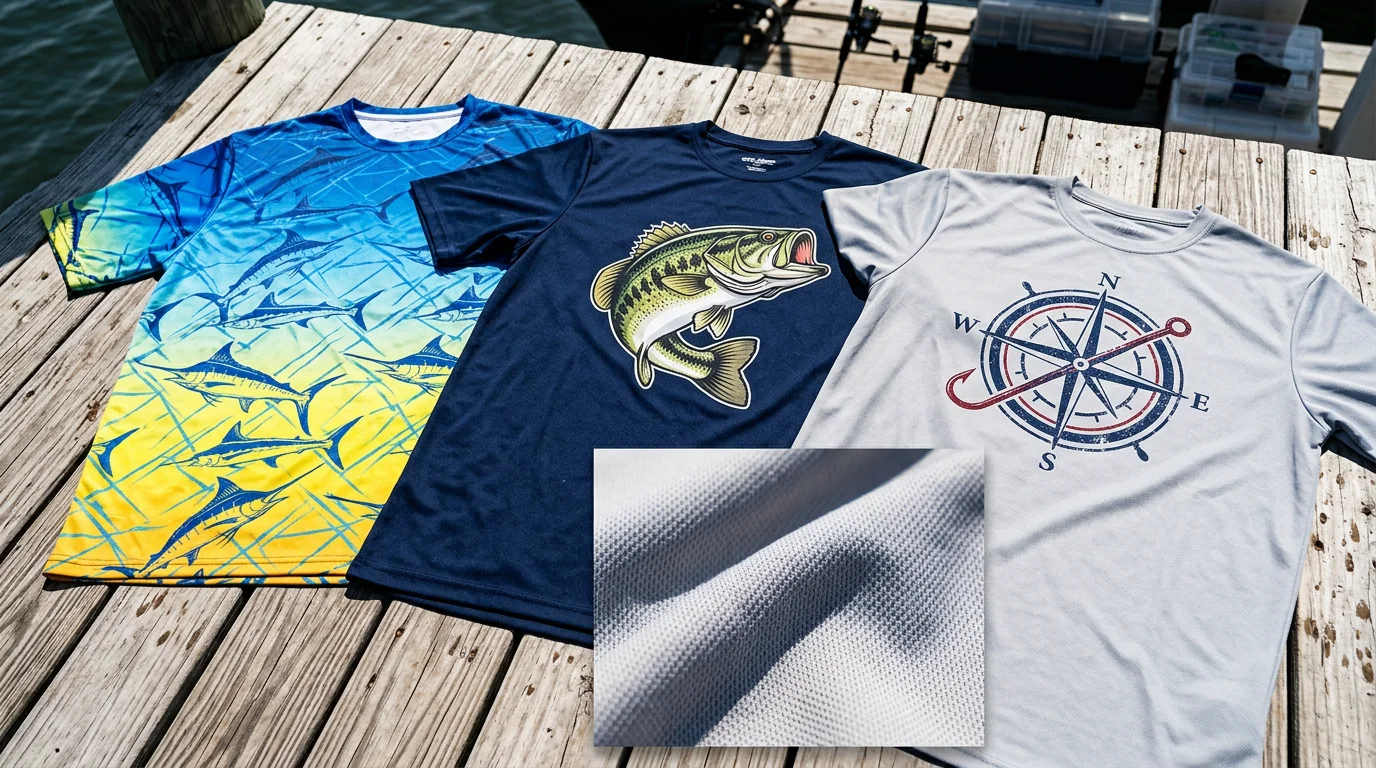
Your club just landed a new title sponsor. Now the pressure is on — their logo needs to look sharp on every jersey, from the morning weigh-in to the trophy shot plastered all over social media.
The wrong fabric, a badly placed emblem, or a sublimation print that fades after six washes does more damage than you'd think. It doesn't just look unprofessional. It erodes the sponsorship relationship you put real effort into building.
Picking the right custom fishing polos for clubs and tournament teams is a strategic call — not a bulk-buying checkbox.
This guide breaks down what separates a high-performance, sponsor-ready polo from a generic outdoor shirt. We cover:
Fabric specs
Print method trade-offs
Logo placement standards
Bulk pricing realities
Use this to walk into supplier negotiations with confidence — and walk out with a uniform your sponsors will want to fund again next season.
5 Mandatory Fabric Performance Metrics for Outdoor Fishing
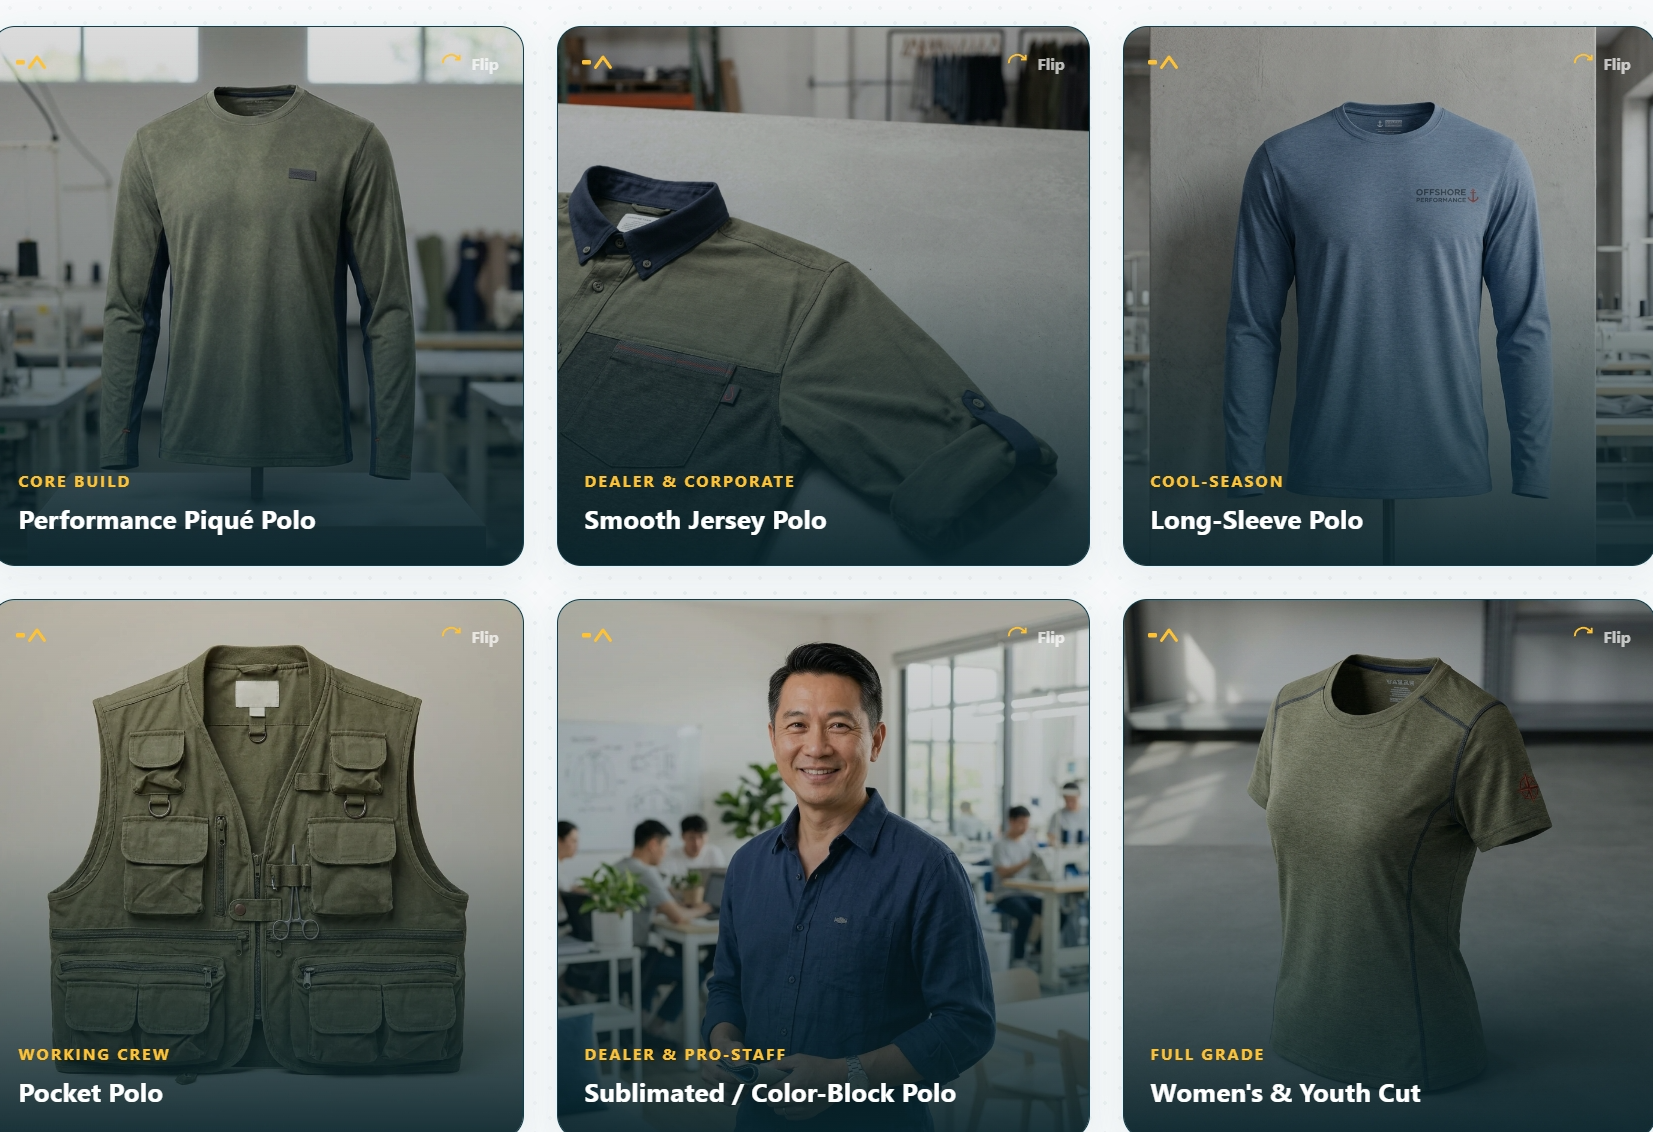
Fabric specs don't sound exciting. Your team is six hours into a tournament on open water — sun hammering down, salt spray everywhere, sponsor logos on full display. At that point, the gap between a 140 GSM performance polo and a cheap cotton shirt becomes impossible to ignore.
These are the five metrics every club purchasing manager needs to check before placing a bulk order.
1. UPF Rating: Don't Accept Anything Below UPF 50+
This is non-negotiable for tournament fishing apparel.
UPF 50+ blocks 98% of UV rays — both UVA and UVB. That's the professional standard. UPF 30 covers basic protection, but it's not enough. Your anglers are competing in open water with direct sun reflecting off the surface. "Basic" doesn't cut it there.
Here's what the fabric composition should look like to hit that rating:
85–92% polyester + 5–10% nylon + 3–5% spandex
Polyester/nylon blends block up to 300% more UV than cotton and weigh 50% less
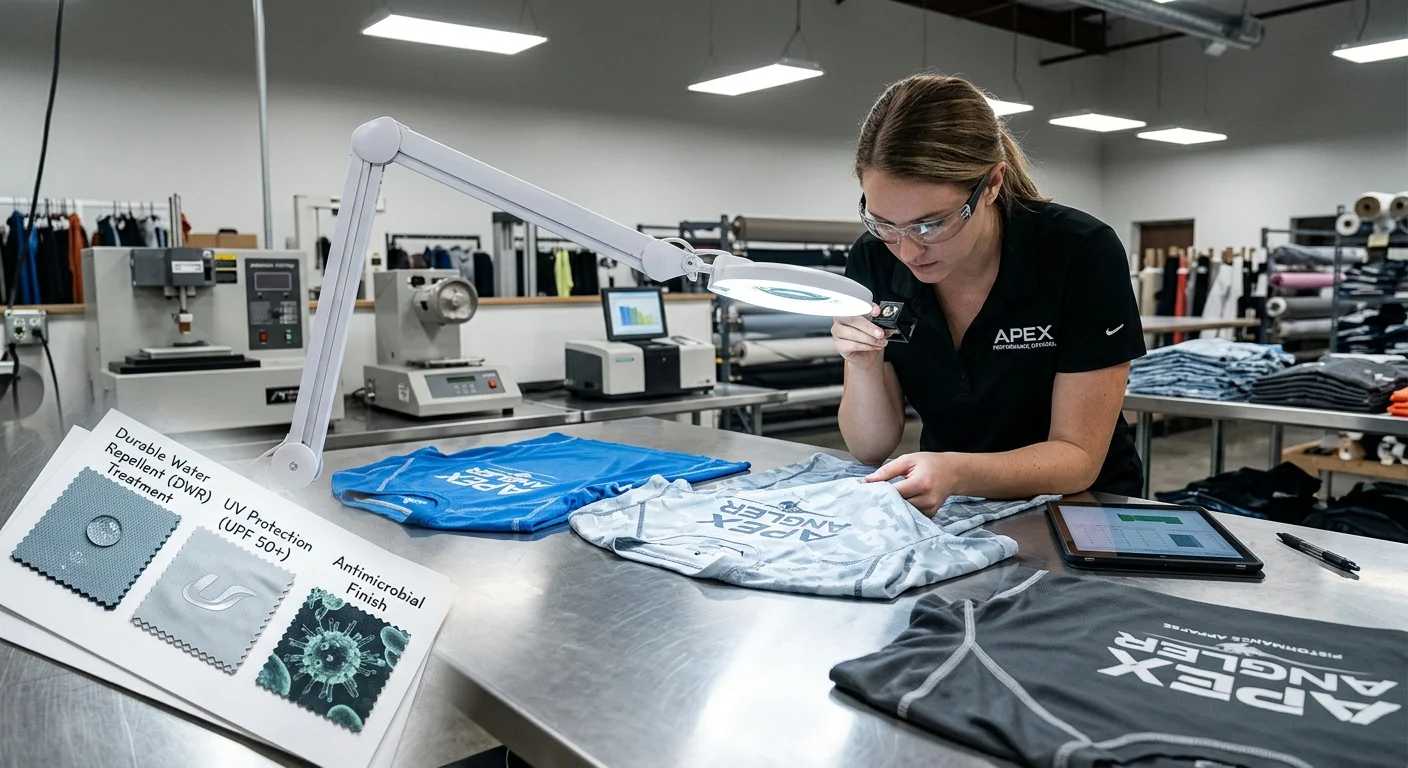
Don't take marketing claims at face value. Ask fishing polo suppliers for third-party lab certificates that reference a recognized test method — AATCC 183 or AS/NZS 4399 — with "UPF 50+" stated clearly in the report.
2. Moisture-Wicking Performance: The Numbers That Matter
Polyester performance fabrics wick moisture 3× faster than cotton . Quick-dry engineering cuts sweat dry time by ~60% compared to cotton shirts under the same conditions.
That matters on a tournament day. Your team casts for eight hours in 90°F heat and high humidity. A soaked cotton shirt clings, chafes, and makes sponsor logos look terrible on camera.
Look for:
100% polyester or poly-spandex blends (90/10 or 95/5) with microfiber capillary-action yarn construction
Technical data sheets labeled "moisture-wicking fishing shirts" or "performance fishing apparel" — with wicking index or drying time documented
Shirts using a membrane or coating system should target MVTR ≥10,000 g/m²/24h breathability. That's the threshold for high-output activity.
The real-world result: a well-spec'd quick-dry fishing polo cuts perceived heat buildup by 4°F versus cotton in identical conditions.
3. GSM (Fabric Weight): Match the Environment, Not Just the Price
GSM — grams per square meter — controls how a fabric performs in real fishing conditions. Too light and it loses structure. Too heavy and it traps heat.
Here's the breakdown:
Environment | Target GSM | Why |
|---|---|---|
Tropical / equatorial heat, low wind | 140–150 GSM | Maximum airflow, light feel, engineered mesh knits |
Coastal / offshore, wind + abrasion | 160–180 GSM | Wind resistance, structural stability, gear contact durability |
For breathability in knit constructions, target Ret ≤3.5 m²·Pa/W . That's the top cooling benchmark for active outdoor sports polo shirts .
4. Durability and Abrasion Resistance: Built for Hooks, Decks, and Salt
Cotton breaks down fast with saltwater exposure. Polyester and nylon hold up. That's a big deal when your club uniforms need to last multiple seasons.
Ask suppliers for these durability numbers before you commit:
Taber abrasion test results : target ≥8,000 cycles — this confirms the fabric handles hook snags, deck friction, and rod butt contact without breaking down
Double-needle stitching on shoulder seams, side seams, and armholes — essential for continuous casting motion and load from life vests or sling packs
UV-resistant and saltwater-resistant finishes on polyester/nylon blends to stop fiber damage and color loss from salt spray
No ASTM D4833 puncture test data from your supplier? Push for it. Tournament teams fish around rod guides and gear edges all day. That data matters.
5. Appearance Retention: Because Sponsor Logos Can't Look Faded by Week Six
Most buyers overlook this metric during procurement. By week six of the season, the club polo looks washed-out in every Instagram post. Then it becomes a real problem.
Two numbers to lock down:
Pilling resistance : Grade ≥3–4 on a 1–5 scale. This is the floor for multi-season tournament team uniforms going through frequent wear and industrial wash cycles. Grades below 3 show visible fuzzing and surface fiber balls — looks bad on camera, bad for sponsor relationships.
Colorfastness (washing + UV + perspiration): Grade ≥3–4 on the grey scale per ISO or AATCC methods. Bold club colors and sublimation-printed sponsor logos face sweat, salt spray, sunscreen, and high-temperature wash cycles — not just everyday wear. They need to hold up to all of it.
Get lab test reports for both specs. Then cross-check them against real washing conditions: high-temp detergent, tumble dry, and possible contact with boat cleaning chemicals.
The Minimum Spec Sheet Checklist
Clear these benchmarks before moving into print method selection or logo placement:
Metric | Minimum Target |
|---|---|
UPF Rating | UPF 50+ (third-party certified) |
Moisture Wicking | ≥3× cotton; drying time ~60% faster |
Fabric Weight (GSM) | 140–150 (tropical) / 160–180 (coastal) |
Abrasion Resistance | Taber ≥8,000 cycles + double-needle seams |
Appearance Retention | Pilling ≥Grade 3–4; Colorfastness ≥Grade 3–4 |
Get written confirmation of each spec from your fishing polo supplier before committing to a bulk order. A polo that fails on even one of these metrics costs you more — in replacements, in sponsor frustration, and in the credibility your club has built over time.
Sponsor Logo Placement Standards: Exposure Value & Print Compatibility
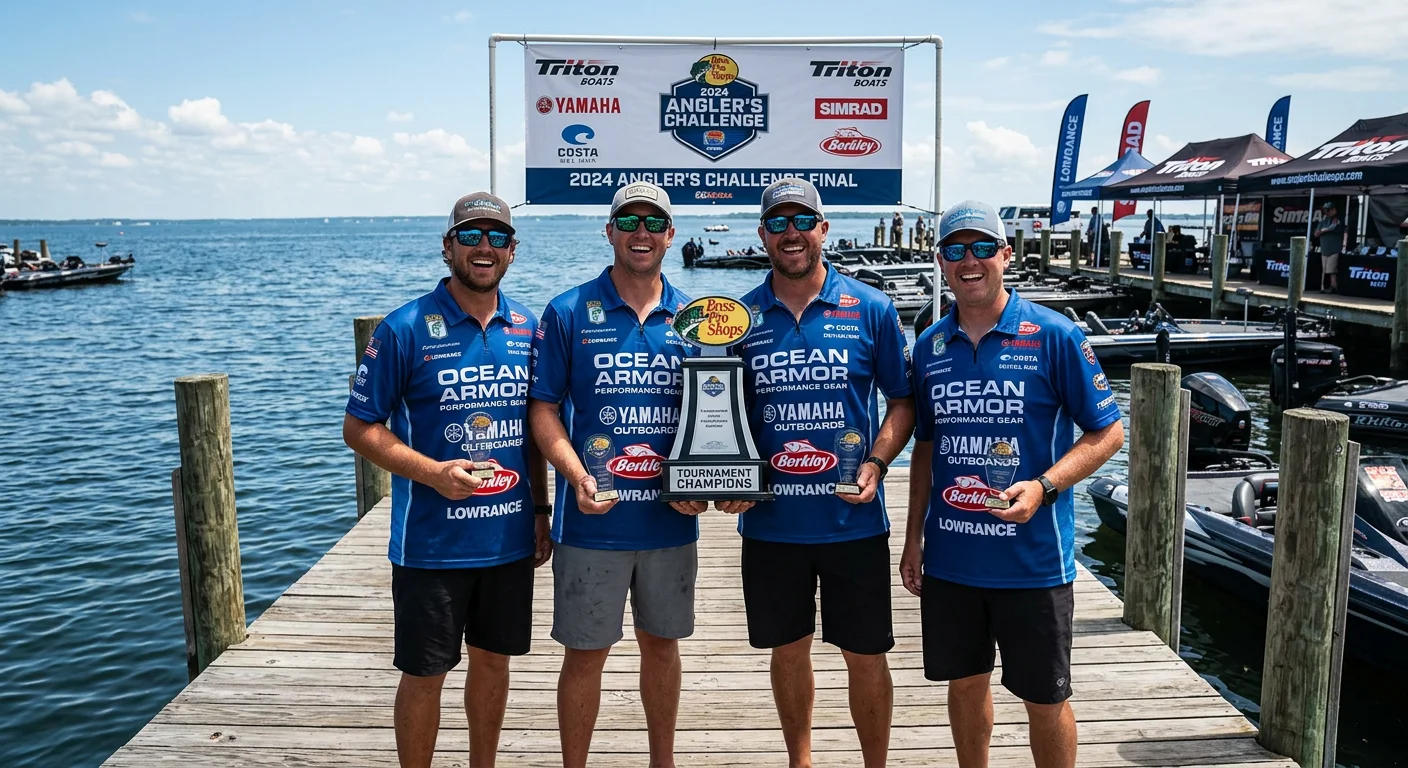
Every sponsor logo on your team's polo is a visual asset. Like any asset, placement determines its return.
Get this wrong and you're not just wasting print budget. You're handing a sponsor a jersey where their logo gets cut out of every photo, distorted over a seam, or buried next to four competing marks. That's how sponsorship renewals die — without a word.
Here's the industry-standard framework for placing logos with purpose.
The Placement Hierarchy: Assign Value Before You Assign Space
Think of your polo as prime real estate. Not every zone delivers equal exposure. Before your designer touches a mockup, lock down this hierarchy:
Left chest = primary identity zone — This is your club name or crest. Non-negotiable. Every sponsor sees this as the anchor point.
Right chest / front chest = title sponsor — Your top-paying sponsor earns front-facing, eye-level placement. This zone gives the strongest visibility in tournament photos, weigh-in broadcasts, and trophy shots.
Sleeves = secondary sponsors — Useful real estate, but limited. Adult sleeves offer just 2–4 inches of printable width . Keep logos centered on the flat part of the arm, positioned 1–4 inches from the hem . Size range: 2.5–4 inches for adults. Distortion is the enemy here — never wrap a logo across a seam.
Upper back panel = event or tournament branding — Place this 4 inches below the collar . Size range: 6–10 inches wide . This zone reads well in podium shots and post-event video recaps.
Lower back / side panels = overflow placement — Use smaller secondary logos here when chest space is maxed out. Keep use to a minimum.
Sizing Standards That Hold Up on Camera
Logo sizes aren't aesthetic preferences — they're functional specs. A logo too small disappears at distance. Too large and it crowds the jersey.
Use these benchmarks:
Placement Zone | Recommended Logo Width |
|---|---|
Front / left chest | 6–10 inches (photo and broadcast standard) |
Left chest (embroidery) | 80–100 mm |
Sleeves | 2.5–4 inches (adult) |
Upper back | 6–10 inches |
A solid rule of thumb: chest sponsor width = close to 10% of total jersey chest width . For standard adult polos, that lands at 5–8 inches — visible in Instagram posts without taking over the garment.
Test readability from 10–20 feet away before approving final proofs. That's the real-world viewing distance at a dock, a weigh-in stage, or a sponsor booth.
Print Compatibility: What Your Files Need to Be
Placement works only if the file is production-ready. Sloppy artwork sent to a fishing polo wholesaler produces blurry logos, color shifts, and misaligned edges. All of that damages your sponsor relationship.
Hard requirements before sending any logo file to print:
Vector files preferred : AI, EPS, or SVG. These scale without quality loss — critical for logos printed in multiple sizes across chest, sleeve, and back.
Raster files minimum : 300 DPI or higher at final print size. Anything below that goes soft under production lighting.
CMYK color mode for most sublimation and screen print workflows
Text converted to outlines in vector files — no font dependency issues
Transparent background on all logo files
0.125"–0.25" bleed on edge placements
Clear space rule : keep surrounding empty space equal to at least the cap-height of the tallest logo element
One more non-negotiable: never place a logo over a seam, zipper, or button line . The fabric shift breaks logo geometry and makes even a clean design look amateur.
Before You Go to Production
Get print-size proofs and run actual try-on mockups before approving your bulk order. A layout that looks balanced on a flat digital template can look completely off on a worn polo.
Build a one-page sponsor placement brief — logo sizes, zone assignments, spacing specs, and color standards. Share it with both your supplier and your sponsors. That document gives you an audit trail if a sponsor questions why their logo looks smaller than agreed. It also gives you leverage for negotiating placement upgrades at renewal time.
Treat sponsor logo placement as a deliverable, not an afterthought. That's what keeps renewal conversations short and contracts signed.
Printing Methods Compared: Embroidery vs. Sublimation vs. Screen Printing
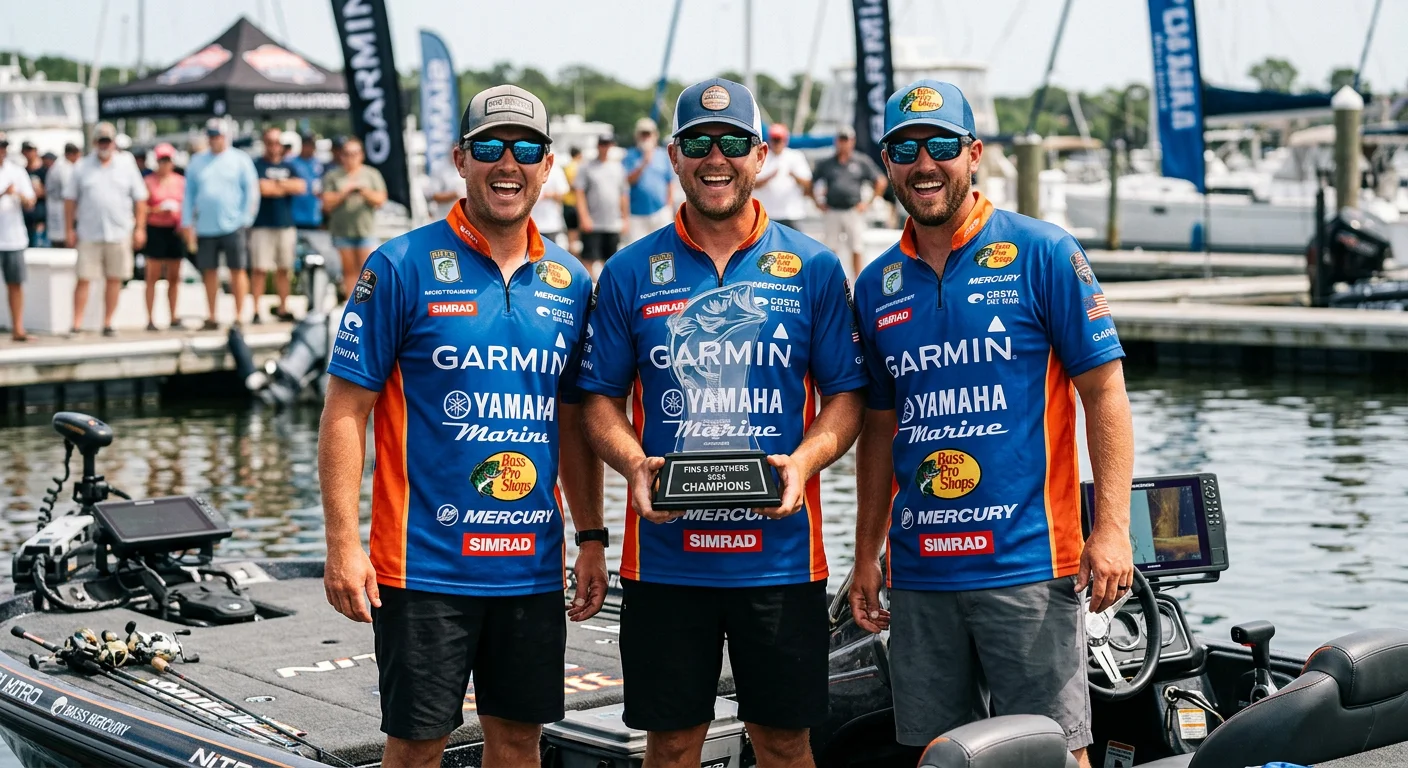
Three methods. Three different outcomes. Pick the wrong one and your title sponsor's logo is cracking, fading, or looking flat by mid-season.
Here's the data-backed breakdown every club purchasing manager needs before signing off on a bulk order.
Wash Durability: Where Each Method Stands
Sponsors watch their logo appear in tournament footage week after week. This number matters most.
Embroidery is built for longevity. High-tensile embroidery thread on workwear survived 100 industrial wash cycles at 85°C without thread breakage. Standard screen print on the same batch showed edge lifting after just 25 cycles . Under normal home washing, embroidered logos hold up through 100–200+ wash cycles , with minor thread softening over time. For uniforms going through regular laundering, embroidery holds its structure better than any surface-applied print.
Sublimation works on a different principle. The dye doesn't sit on top of the fabric — it bonds into the polyester fibers. There's no surface layer, so there's nothing to crack. Tests on sublimated apparel showed zero visible fading after 100 machine washes , with colors still crisp and fabric texture unchanged. In short: the garment wears out before the print does.
Screen printing lands last in this category. Cured plastisol inks can reach 50–100 washes under careful laundering. Push those garments through high-temperature industrial cycles — the kind tournament season demands — and edge lifting starts as early as 25 cycles . For polyester fishing jerseys and performance-weight polos, that's a real liability.
Design Capability: What Each Method Can Reproduce
Your sponsor's brand guidelines don't care about your print method. You need to deliver their logo right — every time, on every shirt.
Embroidery works best for clean, structured logos. Simple wordmarks, crests, and solid icons with up to 6–12 thread colors come out sharp. What it can't handle: gradients, photographic backgrounds, or full-coverage jersey patterns. Color matching is limited by available thread catalogs, not ink formulas — specific Pantone shades need compromise.
Sublimation drops those limits. CMYK process printing gives you unlimited colors, full gradients, and photo-realistic artwork — all printed seam-to-seam across the entire garment. The dye bonds inside the fiber, so breathability and moisture-wicking stay intact . For sublimation printed fishing apparel with multiple sponsor blocks, gradient patterns, and club colors, this is the method that delivers without any performance trade-off.
Screen printing excels at bold, high-opacity spot colors — best at 1–3 colors on a static design. Ink mixes to precise shades, giving it an edge over embroidery thread for solid areas. The problem on performance fishing fabric: heavy ink deposits build a physical surface layer that cuts ventilation and changes hand feel . That's a direct conflict with the moisture-wicking specs you locked down in fabric selection.
Cost and MOQ: The Real Economics of Each Method
Method | Setup Cost | Sweet Spot Quantity | Unit Cost Direction |
|---|---|---|---|
Embroidery | Digitization fee (one-time per design) | 20–50+ units | Per-stitch pricing; higher for large logos |
Sublimation | Near-zero (digital file, no screens) | 30–50+ units | Drops fast at scale; complex designs cost same as simple |
Screen Printing | High (separate screen per color) | 100+ units | Lowest per-unit at volume with 1–3 colors |
Embroidery makes financial sense for small, static chest logos on modest batch sizes — think the embroidered fishing polo with a clean club crest and sponsor name. The digitization fee is a one-time fixed cost. Once paid, reorders stay efficient.
Sublimation is built for bulk custom fishing polos with complex sponsor layouts. There's no per-color screen cost — a jersey with eight sponsor logos costs the same to set up as one with two. All-over sublimated performance garments run $8–$24 per unit , depending on fabric, coverage, and quantity. Your sponsor roster changes season to season? The near-zero setup cost makes annual refreshes practical and affordable.
Screen printing wins on per-unit price at 100+ garments with 1–3 solid-color sponsor designs that change rarely. Add colors, request a new season layout, or move to performance fishing fabric with technical construction — the economics shift against it fast.
Method-to-Fabric Compatibility: The Constraint That Overrides Everything Else
Before locking in your method, check it against your fabric spec.
Embroidery : Works on most fabrics but adds bulk and weight at the logo zone. On ultra-light 140–150 GSM performance fishing shirts , dense stitch patterns create stiff spots that trap moisture. Keep embroidery to small chest logos and caps on high-performance garments.
Sublimation : Needs a ≥65–80% polyester base — 90–100% is the target. Apply it to a light or white base fabric only. The translucent dye process can't produce bright colors on dark grounds. This is the natural fit for performance fishing fabric across all-over sponsor and pattern designs.
Screen printing : Most effective on cotton and cotton-rich blends. Heavy ink deposits on technical synthetic fabrics trap heat and block sweat management — a direct conflict with the moisture-wicking benchmarks above.
The Direct Comparison: Three Numbers to Commit to Memory
Embroidery | Sublimation | Screen Printing | |
|---|---|---|---|
Wash Durability | 100–200+ normal; 100 industrial cycles | Permanent on polyester (garment lifespan) | 50–100 normal; 25 extreme cycles |
Design Range | Simple logos, 6–12 colors max | Unlimited colors, photo-realistic, all-over | 1–3 solid colors optimal |
Best Quantity | 20–50+ units | 30–50+ units | 100+ units |
For most fishing clubs running tournament team uniforms with multiple sponsor logos and performance fabric requirements: sublimation is the default answer . Reserve embroidery for premium chest crests or cap logos where texture and dimension add perceived value. Use screen printing for orders of 100+ simple, single-design sponsor shirts that won't change for at least two seasons.
The method you choose feeds directly into sponsor satisfaction. A sublimation-printed logo that looks just as sharp in Week 14 as it did in Week 1 — that's the kind of detail sponsors notice, even if they never say it out loud.
Bulk Ordering Economics: MOQ Thresholds & Price Tiers
Unit price on a fishing polo isn't fixed — it's a function of volume. The more you order, the less each shirt costs. That's the basic mechanic. But most club purchasing managers leave money on the table. They don't know where the price breaks land or what each tier unlocks.
Here's the full picture.
The Three Pricing Tiers — And What Each One Gets You
Micro-Batch: 20–49 units → $35–$55/unit
This is your pilot run tier. Small charter fleets, test orders for a new sponsor layout, clubs confirming fit and color accuracy before committing to a full season order — they all start here. Per-unit cost is highest at this range. Setup and digitization fees spread across fewer shirts, so each one carries more of that overhead.
One cost-control move that works well: hybrid production . Pair an embroidered chest logo with a sublimation-printed back panel. You keep branding quality high without paying for full garment decoration on every placement.
Standard Tournament: 50–149 units → $22–$35/unit
This is where the economics shift in your favor. Setup costs spread across enough units to make customization worth the spend. At this tier, suppliers open up polyester performance blends , multi-location sponsor logo placement , and tighter quality control handling. For most regional tournament teams and mid-sized fishing clubs, this range hits the sweet spot. Per-unit price drops, and inventory risk stays manageable.
Fleet & Enterprise: 150–500+ units → $12–$25/unit
Private-label programs, large multi-team operations, and clubs combining orders across several squads all land here. The unit price drops to its floor. You get custom fishing polo construction , color-matched trims, reinforced gussets, and private-label hang tags. Your club doesn't have to reach 150+ on apparel alone — combining an apparel order with sponsor activation shirts can push you over the threshold. The margin leverage at this level is real.
Hidden Costs That Inflate Your Real Budget
The per-unit price your supplier quotes is not your landed cost. Build these into every RFQ:
Digitization fees for embroidery file conversion (one-time, but real)
Pantone/color-matching surcharges for exact thread or trim work
Rush premiums : 20–30% markup on expedited production runs
Freight and import duties under DPU or DAP terms
Storage costs if inventory sits post-delivery
Missing any of these turns a good quote into a budget surprise.
Order Smarter: The Overage and Negotiation Rules
Pad your order by 2–4 units — about 3% overage . That covers late crew additions, size swaps, and QC rejects. You avoid triggering a second production run at micro-batch pricing, which would cost far more per shirt.
Ask every supplier for tiered pricing at 20–49, 50–149, and 150–500+ units in a single RFQ. Then request line-item breakdowns — setup, decoration, rush, freight, and packaging listed out separately. That's how you compare true landed cost across suppliers, not just headline price.
The decision rule is simple: move up a tier only when the per-unit savings cover the extra inventory you're taking on.
Order Range | Unit Price | Best Use Case |
|---|---|---|
20–49 units | $35–$55 | Pilot runs, small clubs, sponsor tests |
50–149 units | $22–$35 | Tournament teams, regional clubs |
150–500+ units | $12–$25 | Fleets, multi-team programs, private label |
Small club or first-time sponsor? Stay in the micro-batch range and keep decoration simple. Tournament team? Target 50–149 units — that's your pricing sweet spot. Running a fleet program or consolidating multiple squads? Push to 150+ and negotiate private-label terms while you're at it.
Supplier Evaluation Checklist & Quote Comparison Template
Most clubs lose the procurement game before negotiations even start. They send informal inquiries to three fishing polo suppliers, get back inconsistent quotes, and pick whoever replies fastest. Then the jerseys arrive two weeks before the tournament — wrong GSM, blurry sponsor logo, no lab cert anywhere.
The fix is a structured RFQ process. Every fishing polo supplier answers the same questions against the same baseline. Here's how to build it.
The Four Evaluation Pillars
Before you send a single inquiry, lock down what you're comparing. All suppliers must quote against identical specs. No exceptions.
Pillar 1: Fabric & Performance Verification
Every supplier response needs these fields — not just marketing claims:
Fabric composition and GSM (target 140–180 GSM polyester or poly-spandex) with a ±5% GSM tolerance commitment in writing
UPF 50+ lab report: require the test method (AATCC 183 or AS/NZS 4399), lab name, and report date — not just a hang-tag claim
Moisture-wicking and quick-dry certification or test report reference number
Colorfastness-to-wash rating (require ≥Grade 4 on grey scale) and pilling resistance result
Pillar 2: Logo Quality & Construction
This is where sponsor satisfaction lives or dies:
Print methods supported: sublimation / embroidery / screen print / heat transfer — confirm which ones run in-house versus outsource
Maximum printable area per zone (front chest, back panel, sleeves) — exact measurements, not estimates
Vector file acceptance: AI, EPS, or PDF at minimum
Seam construction: coverstitch or flatlock on shoulders and hem (Yes/No)
Pillar 3: Lead Times & Tournament Alignment
Get hard commitments, not ranges:
Artwork-to-sample lead time: target 7–10 days from approved files
Bulk production window: target 25–35 days after deposit and final sign-off
Guaranteed ship date relative to your tournament start — require at least 20 days of buffer
Incoterms stated in full: FOB, CIF, or DAP
Pillar 4: QC Standards & Defect Coverage
This is what separates professional suppliers from print shops:
Pre-shipment inspection (PSI): in-house or third-party (SGS, Intertek, Bureau Veritas) — require Level II, AQL 2.5 major / 4.0 minor
Defect-rate guarantee: require <2% on delivered quantity with a replacement or credit policy documented in the PO
Color consistency: Pantone-cross-referenced print proof approved before bulk runs; ΔE ≤ 1–2 against the approved sample
The Quote Comparison Matrix
Copy this into Excel or Google Sheets. Add hidden weighted-score columns — suggested weights: price 30%, quality 30%, lead time 20%, communication 10%, warranty 10% — then calculate a total score per vendor.
Vendor | Fabric Spec (GSM/Blend) | UPF & Wicking Cert | Logo Methods & Max Print Area | MOQ & Tiered Unit Price (FOB) | Sample Lead Time | Bulk Lead Time | QC / Defect Policy | Contact |
|---|---|---|---|---|---|---|---|---|
Supplier A | ||||||||
Supplier B | ||||||||
Supplier C | ||||||||
Supplier D | ||||||||
Supplier E |
Request tiered pricing at 50–99 / 100–199 / 200–499 / 500+ units in every quote. Ask for line-item breakdowns — unit FOB price, setup cost per logo, packaging, and freight as separate line items. That's the clearest way to compare true landed cost across suppliers.
Payment terms to target: 30% deposit, 70% pre-shipment — released after PSI sign-off and delivery photos are confirmed.
The 7-Step Procurement Sequence
Run every supplier through this sequence before any money moves:
Issue a unified RFQ — same fabric spec, same logo zones, same quantity tiers, sent to all fishing polo suppliers at the same time
Request physical swatches — weigh the fabric yourself to verify GSM; run a water-drop test for wicking; check opacity against direct sunlight
Order mixed-size samples (S, L, 2XL minimum) — test on team members to cover a full range of motion
Lock proofs before deposit — require digital mockups per logo zone; for orders above 100 units, request a pre-production physical sample too
Verify lab reports through the source — don't accept photocopies; cross-check the report number with the issuing lab for large orders
Issue a formal PO with lead-time commitments, defect-rate guarantee, IP protection clause, and replacement terms written in — not just spoken agreements
Score post-delivery — track actual defect rate against the 2% guarantee, on-time delivery against the promised window, and player feedback on comfort and colorfastness after the first tournament
That post-delivery score goes straight into your next procurement cycle. Suppliers who hit their numbers get priority. Suppliers who don't get replaced.
The clubs that lock in great sponsors long-term aren't doing anything complicated. They show up with documentation — proof the jersey performed, the logo held, and the supplier delivered on time. That paper trail is your leverage at every renewal conversation.
Conclusion
Your club's polo isn't just a shirt — it's a walking billboard. It either earns your sponsors' renewal check or loses it.
Three decisions made before you place a single order separate a forgettable tournament uniform from one that keeps sponsors coming back year after year:
Performance fabric that holds up through a full season on the water — UPF 50+, moisture-wicking, quick-dry. These are non-negotiables.
The right print method for each logo zone — sublimation printed fishing apparel for all-over color, embroidery where prestige matters.
A bulk pricing tier that protects your budget without cutting corners on quality.
Now it's time to act. Pull up your supplier evaluation checklist. Send quote requests to at least three vendors this week. Walk into every sponsor conversation with a professional logo placement map ready.
Sponsors notice the details. Make sure yours tell the right story.